



JERKY RECIPES · FROM THE VIDEO TO YOUR KITCHEN
Peanut Butter Sriracha Bacon Jerky
Six photo steps. A credited source video. A recipe guide to save.
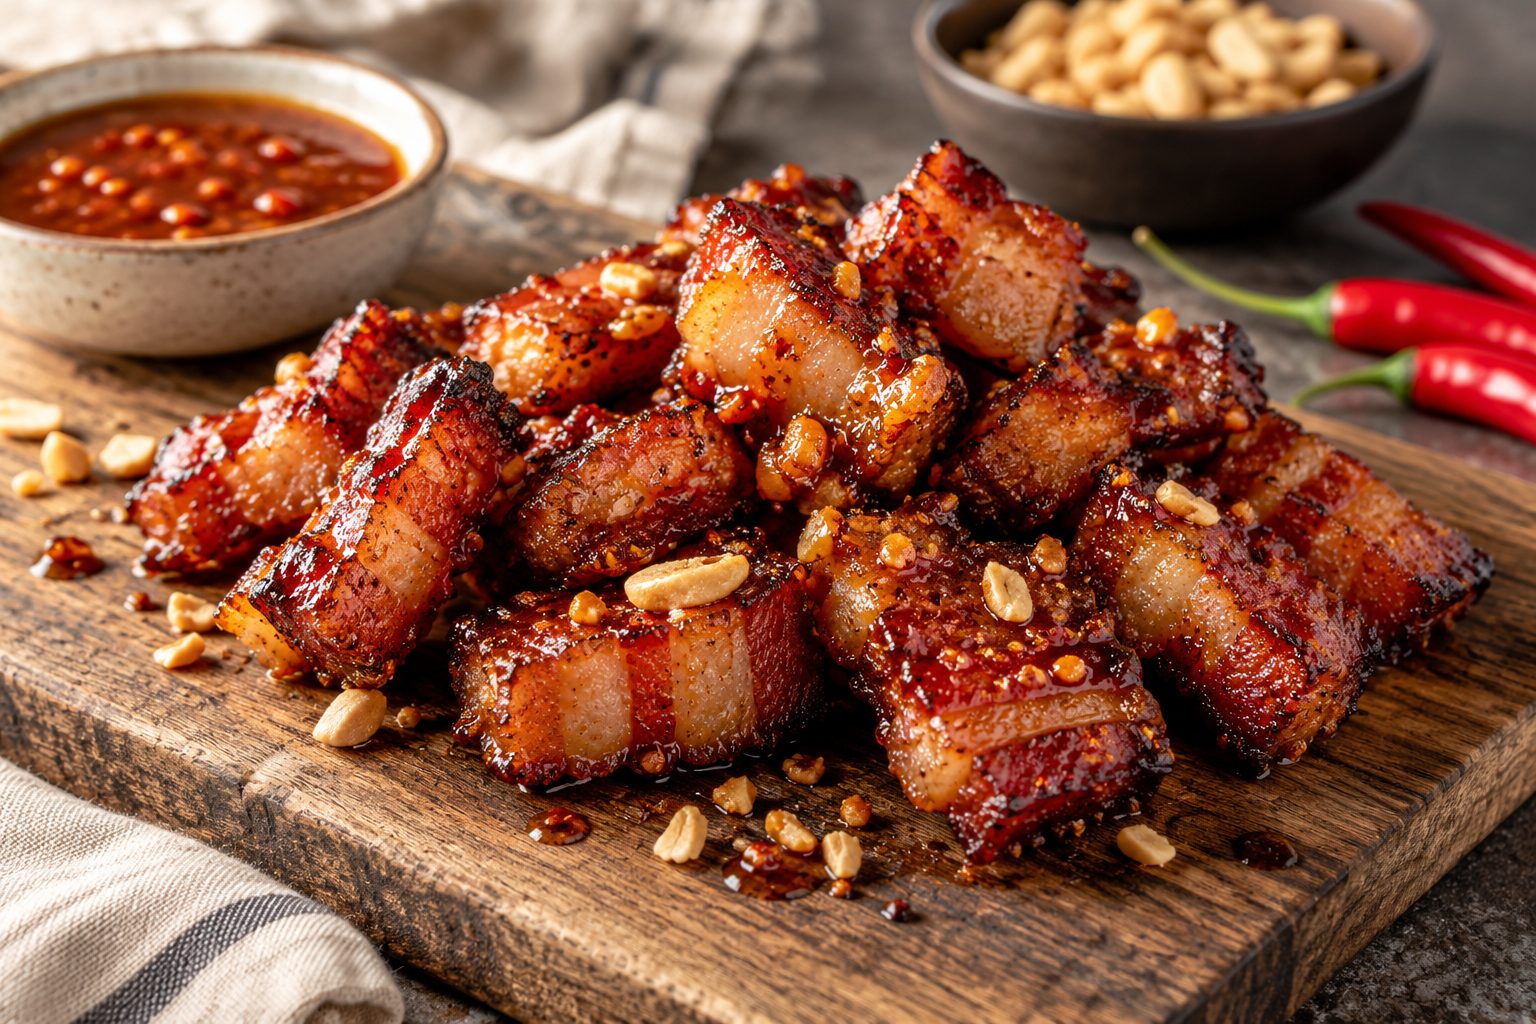
Peanut butter and sriracha make an especially rich hot-sweet coating for thick bacon pieces. Brown sugar rounds out the pepper sauce, while powdered peanut butter helps the flavor stay present after cooking.
Watch the original video
Video by Jerky · Watch on YouTube
Ingredients
Starting batch: 2 lb raw thick-cut bacon ends and pieces; yield varies with rendering and drying.
- 2 lb thick-cut bacon ends and pieces, sorted for similar thickness
- ½ cup smooth peanut butter
- 2 tbsp peanut butter powder
- ¼ cup sriracha
- ¼ cup brown sugar
- 2 tbsp soy sauce
- ½ cup water
Equipment: sharp knife, cutting board, blender, covered nonreactive container, oven, rimmed baking pan, oven-safe rack, thin-tip thermometer, clean tongs, paper towels, and an adjustable-temperature dehydrator.
Allergens: Contains peanuts; soy sauce commonly contains soy and wheat. Check banana powder, peanut powder, sauces and other ingredient labels.
How to make this jerky
Step 1: Separate the bacon pieces
Separate the thick-cut bacon ends and pieces and sort them into groups of similar thickness. Cut unusually large pieces into manageable portions. Keep raw bacon cold while preparing the coating.
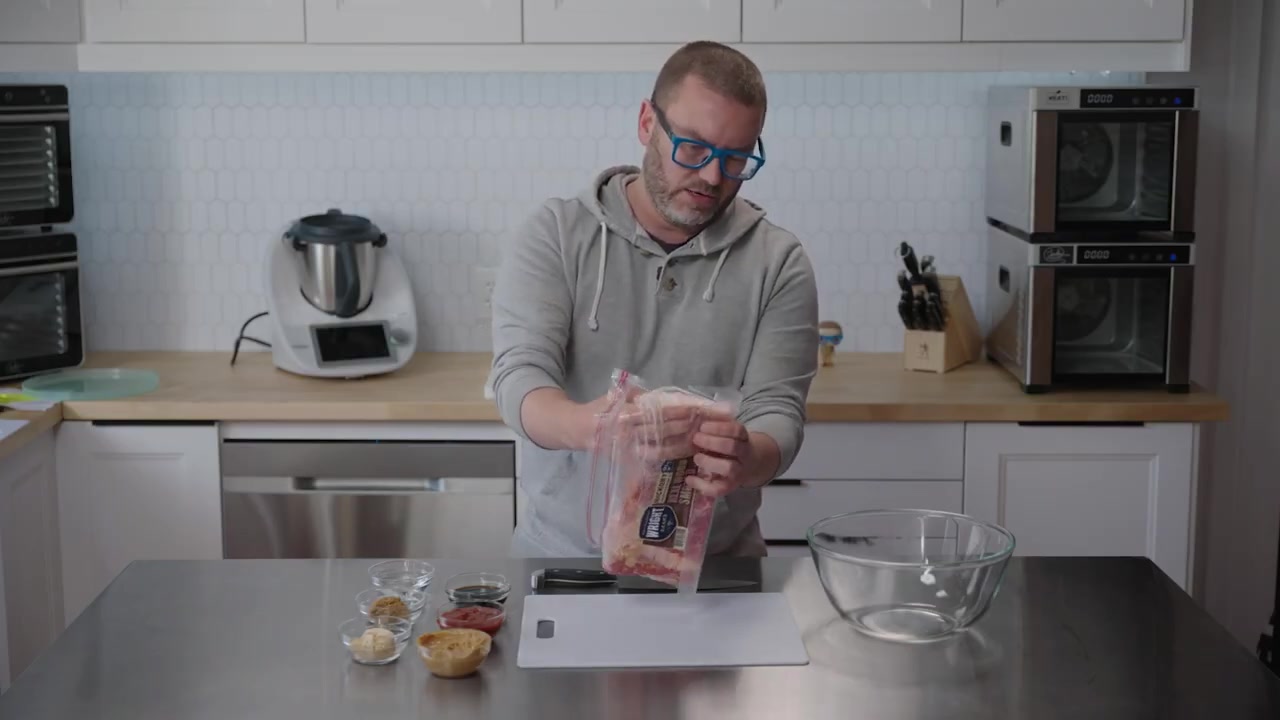
Step 2: Build the flavored coating
Blend peanut butter, peanut butter powder, sriracha, brown sugar, soy and water until smooth. Scrape down the sides and blend again until the powder is fully incorporated.
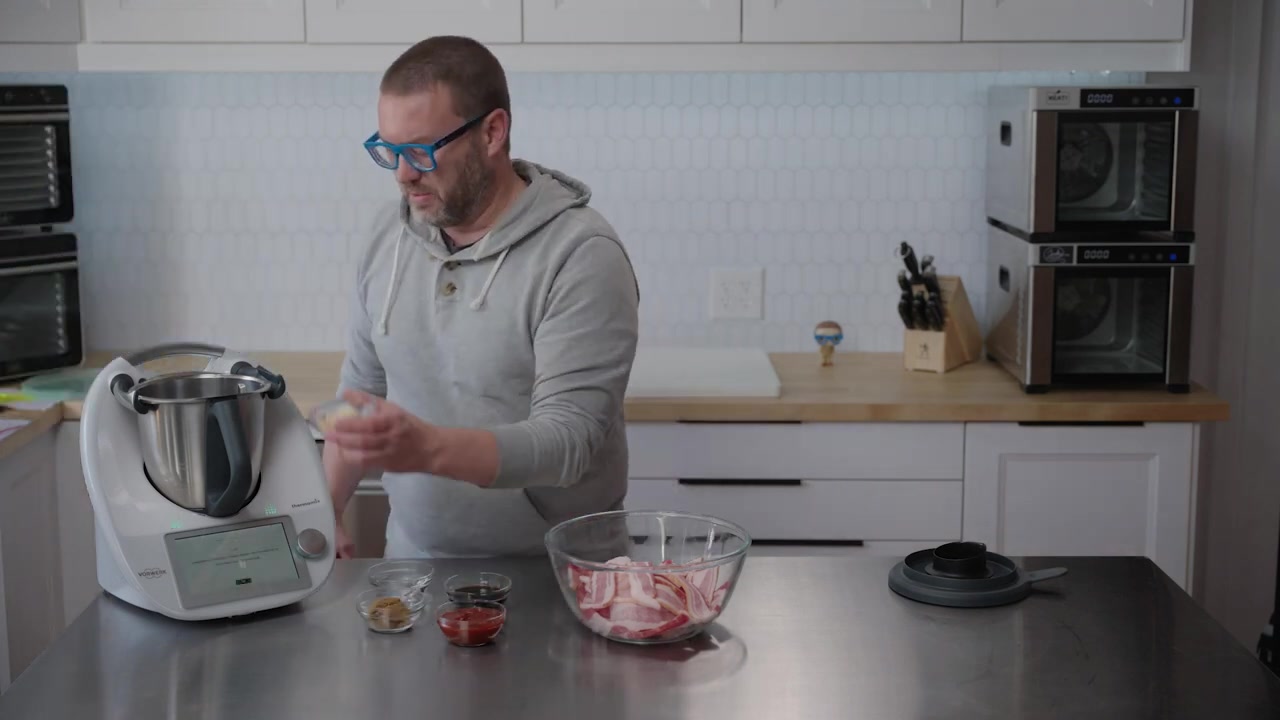
Step 3: Blend until uniform
Blend the coating once more until completely uniform. Cool any ingredients that were warmed to loosen the spread before adding raw bacon. A thick but pourable coating will be easier to distribute.
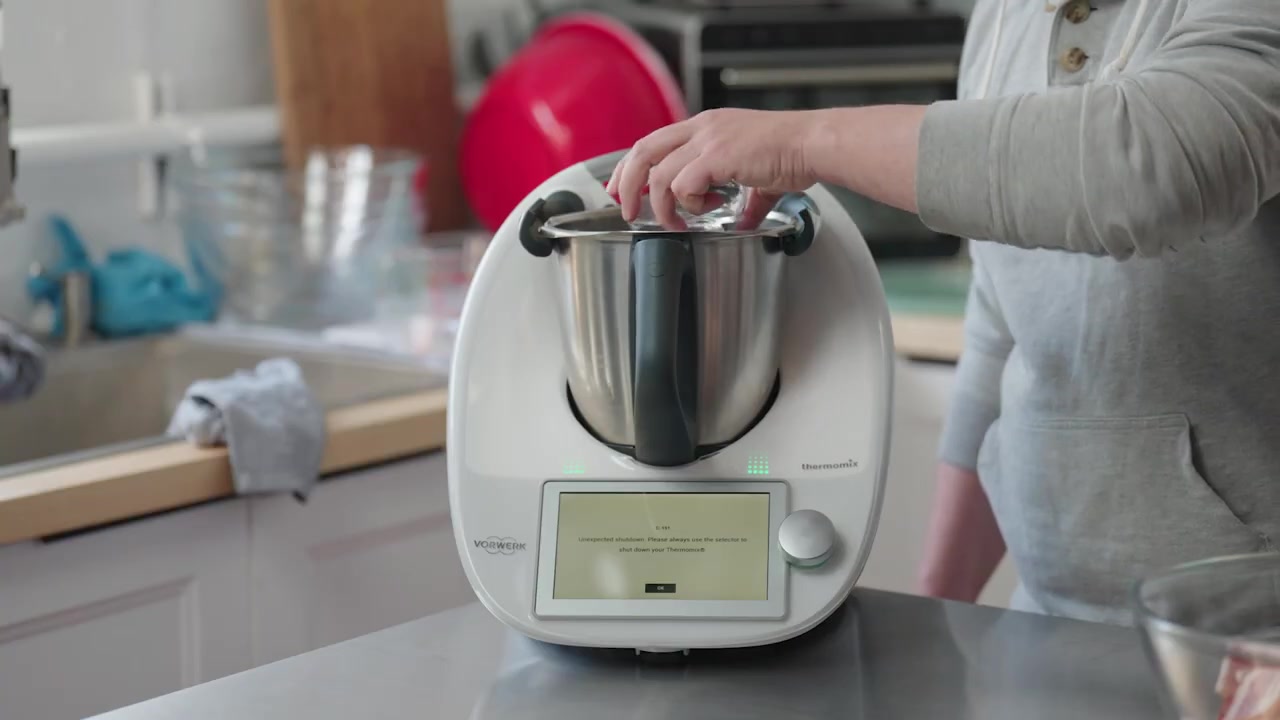
Step 4: Coat and refrigerate
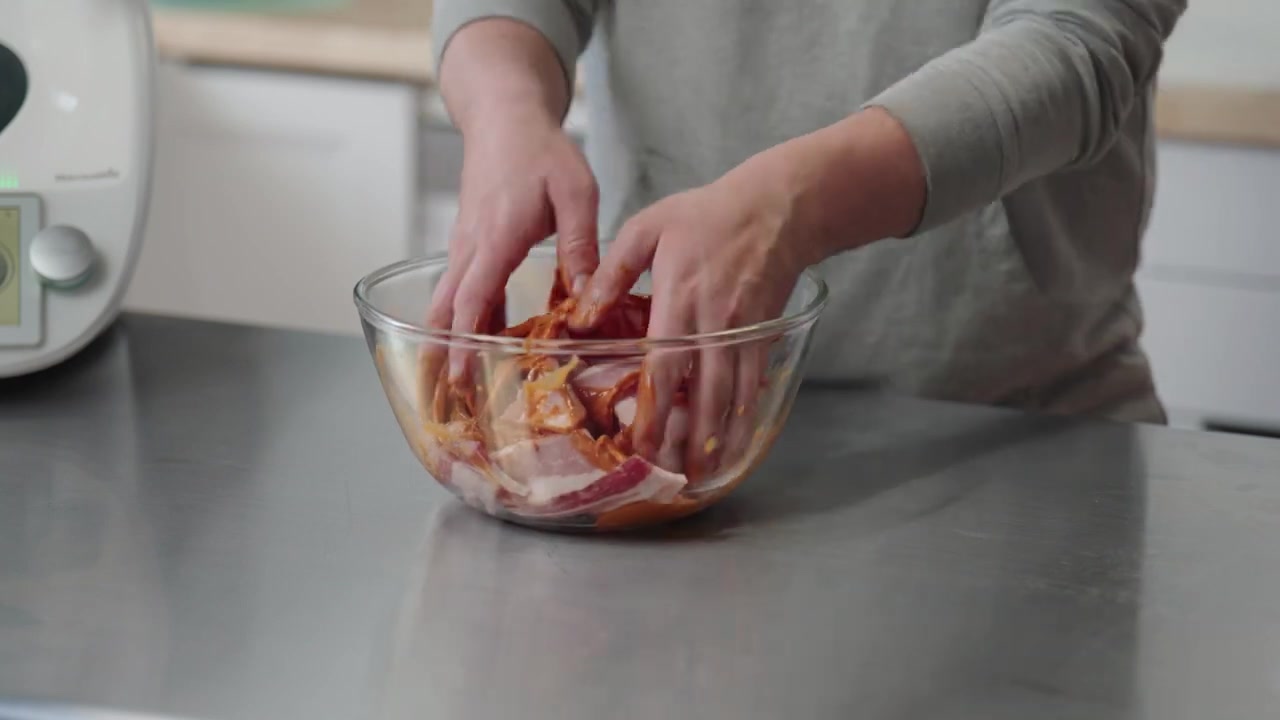
Turn the bacon pieces through the coating in a nonreactive covered container. Work between folded pieces so all surfaces are covered. Refrigerate at 40°F or below for 12 hours; keep raw bacon chilled until cooking.
Step 5: Fully cook before drying
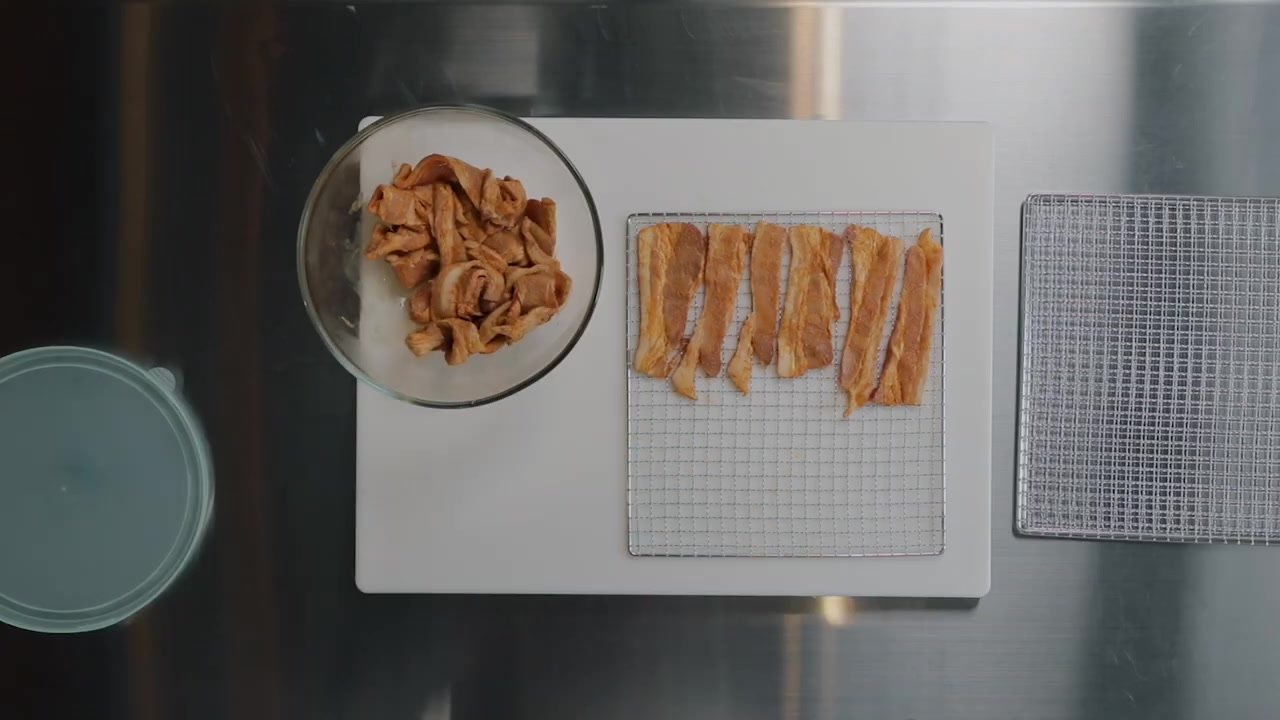
Drain the bacon pieces and discard raw marinade. Arrange on an oven-safe rack over a rimmed pan without overlapping. Bake at 325°F until fully cooked and each piece reaches 160°F on a thin-tip thermometer, checking several of the thickest pieces. Blot rendered fat with clean paper towels and transfer using clean tongs to clean drying racks. Dry at 145–155°F until a cooled sample has a chewy texture; check often and blot surface fat. Source drying photos do not show this added full oven-cooking step.
Step 6: Cool and keep refrigerated
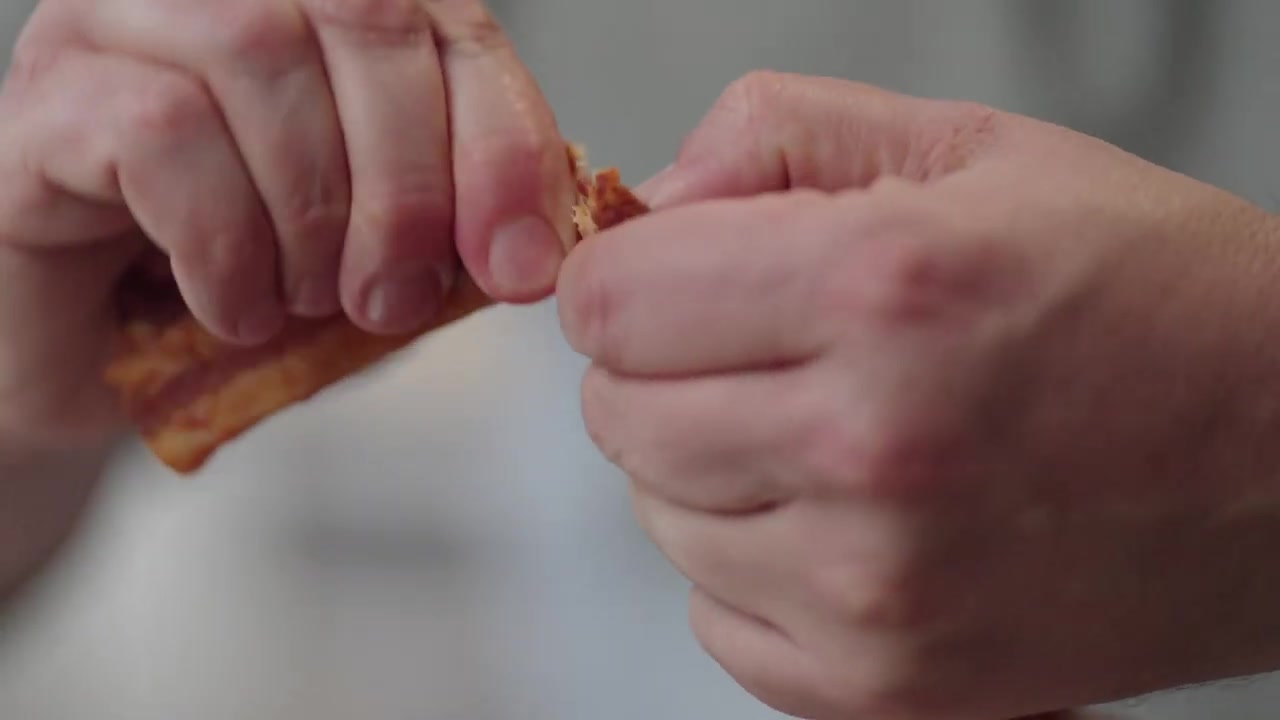
Cool fully and refrigerate promptly at 40°F or below in a clean covered container. Treat this as cooked bacon: use within 4 days or freeze. Drying does not make this fatty snack shelf-stable; keep portions chilled between servings.
Why this flavor works
Peanut butter and peanut powder give the coating depth. Sriracha brings chile heat against the sweet bacon glaze. Similar piece thickness makes cooking and drying easier to control.
Serving and storage
Serve small refrigerated portions as a rich snack. Use within 4 days or freeze; keep chilled between servings.
Keep the finished jerky refrigerated. Pack only fully cooled strips, keep hands and containers clean, and freeze portions you will not eat promptly. Moisture, thickness, and handling affect keeping quality; this home method does not establish commercial shelf stability.
A ready-to-eat option between batches
For a convenient jerky snack when you are not making a batch, explore BULK Texas Style Original Beef Jerky. Its seasoning and production process differ from this homemade adaptation.
Browse every published BULK jerky recipe.
Sources and further reading
- USDA: bacon cooking and refrigerated storage
- Peanut Butter & Sriracha Bacon Jerky Recipe (For Beginners) — Jerky
- USDA: how to make meat or poultry jerky at home
- National Center for Home Food Preservation: jerky
Original BULK adaptation after reviewing the source video’s automatic captions and ingredient discussion. Source footage and creator credit belong to Jerky. Photographs are timestamped source-video stills. Use the full written method for details.
Save the complete recipe guide
Keep the ingredient list and all six steps together. Save the image for your next batch.
Download the recipe infographic