JERKY RECIPES · FROM THE VIDEO TO YOUR KITCHEN
Peppered Beef Jerky with a Lemon Lift
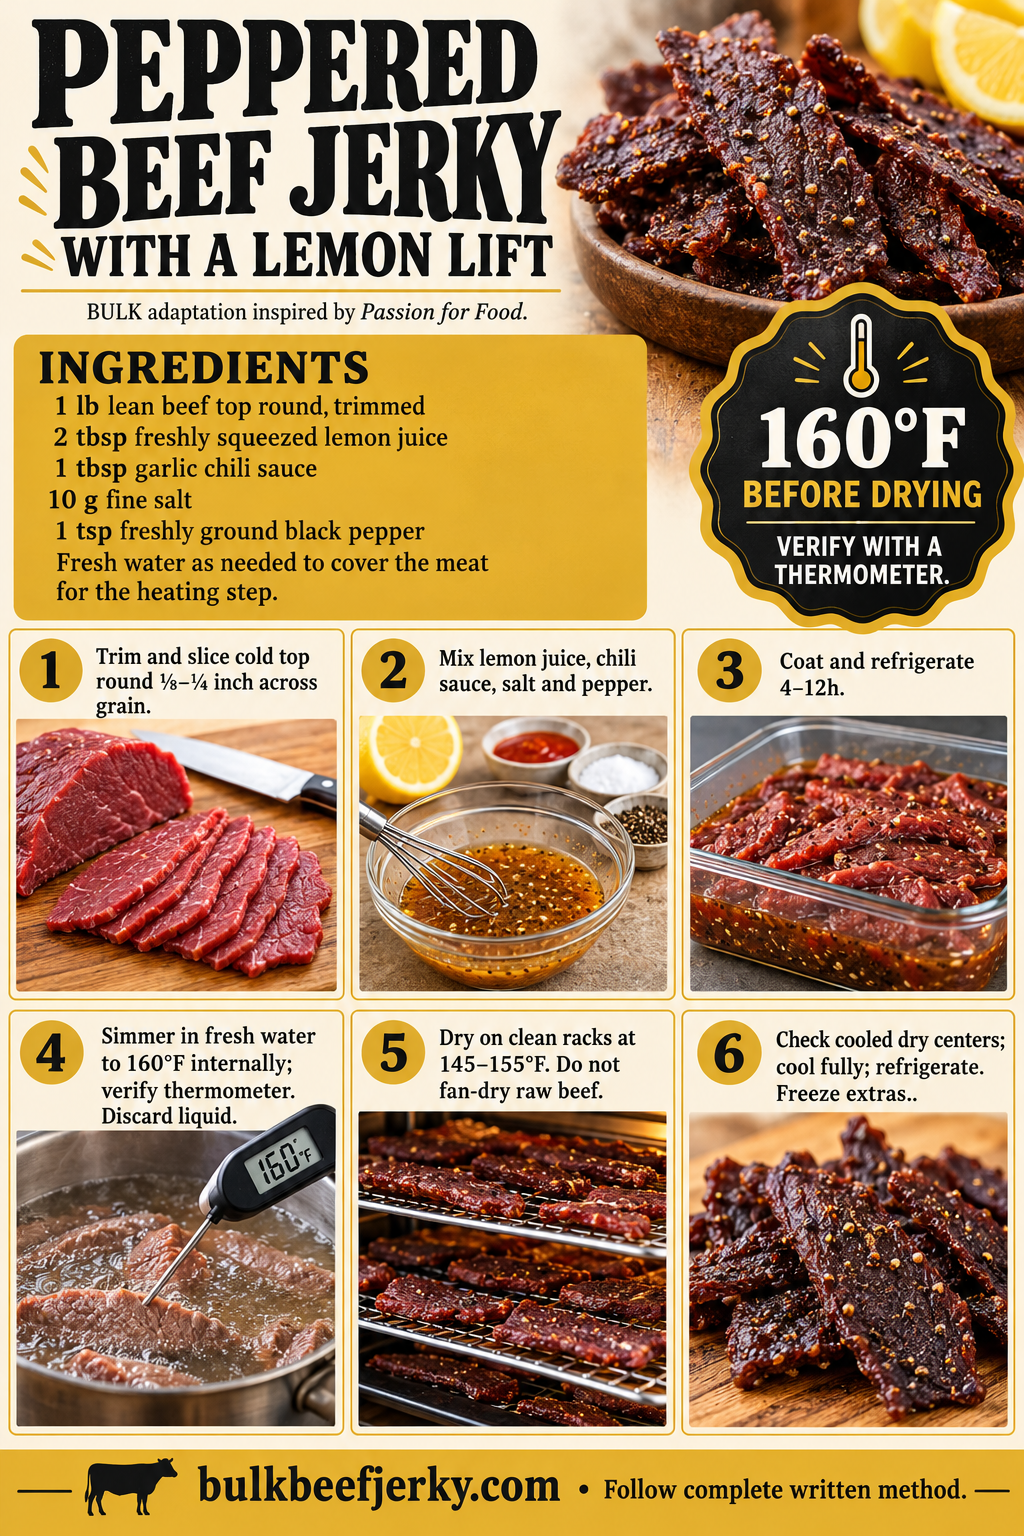
Six photo steps. A credited source video. A recipe guide to save.
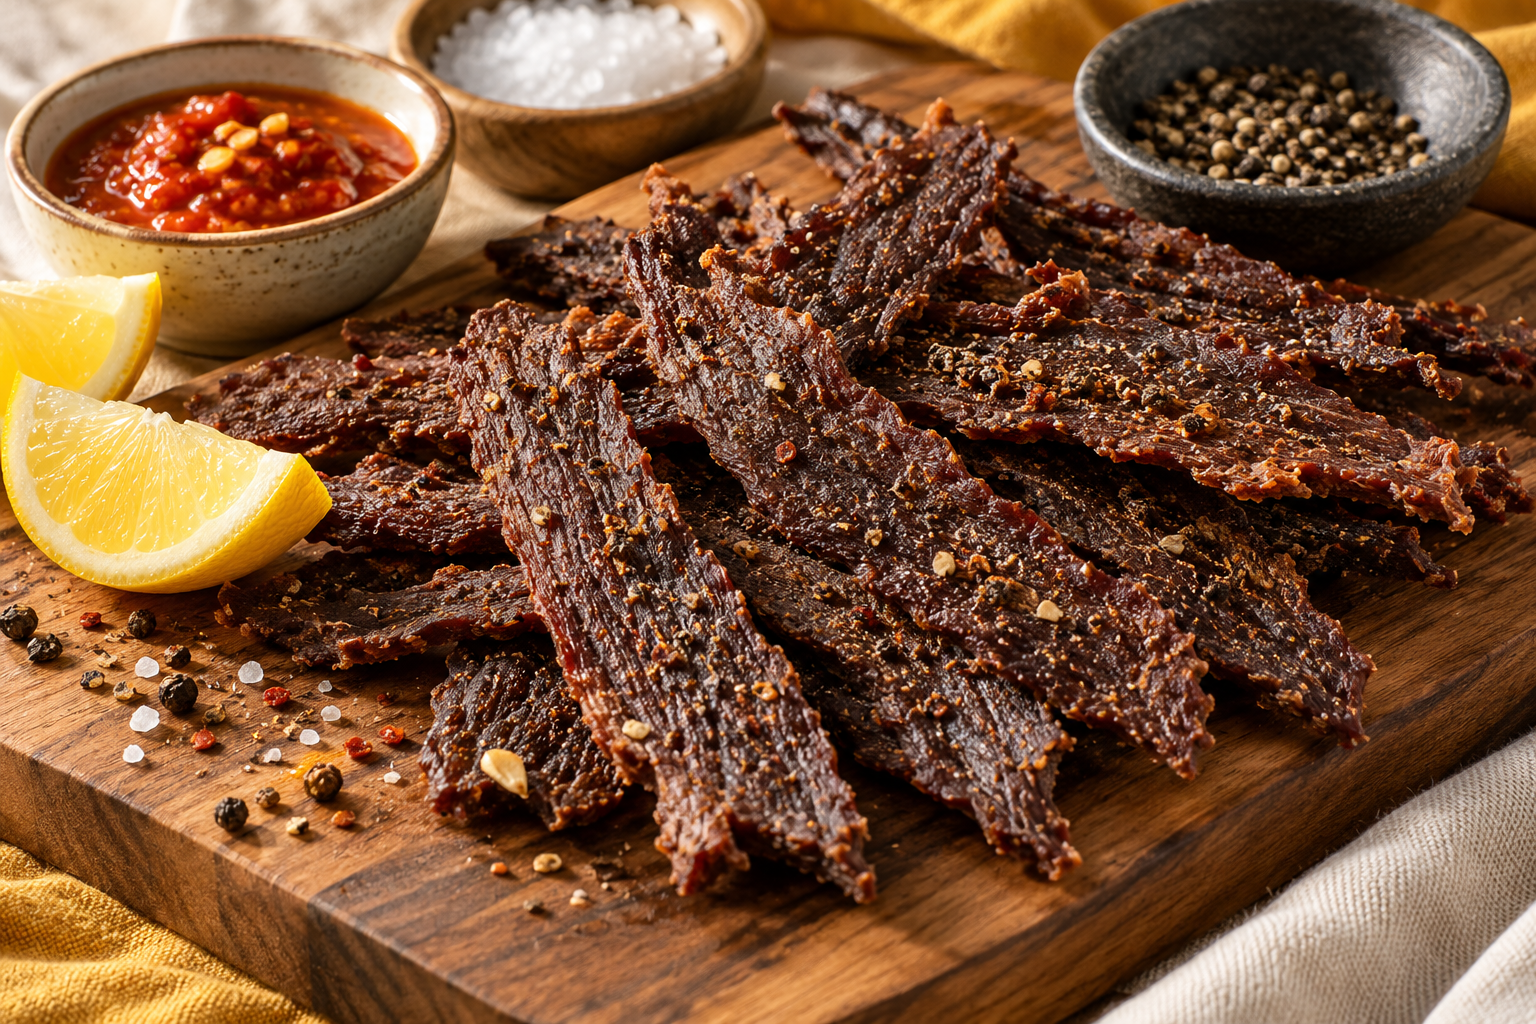
Lemon juice brings a bright acidic lift to the pepper. Garlic chili sauce adds both garlic and chili, making this a lightly spicy citrus adaptation rather than a plain pepper marinade. This existing BULK recipe has been refreshed with a credited source tutorial and a measured home adaptation.
Watch the original video
Video by Passion for Food · Watch on YouTube
Ingredients
Starting batch: 1 lb lean beef top round, trimmed; finished yield varies.
- 1 lb lean beef top round, trimmed
- 2 tbsp freshly squeezed lemon juice
- 1 tbsp garlic chili sauce
- 10 g fine salt
- 1 tsp freshly ground black pepper
- Fresh water as needed to cover the meat for the heating step
Equipment: {esc(r.get("equipment", "sharp knife, cutting board, kitchen scale, covered nonreactive container, saucepan, thin-tip food thermometer, clean tongs, wire racks, and an adjustable-temperature dehydrator."))}
Allergens: Check soy sauce, Worcestershire, prepared chili sauce and seasoning labels for soy, wheat, fish and other allergens; the sesame recipe contains sesame.
How to make this jerky
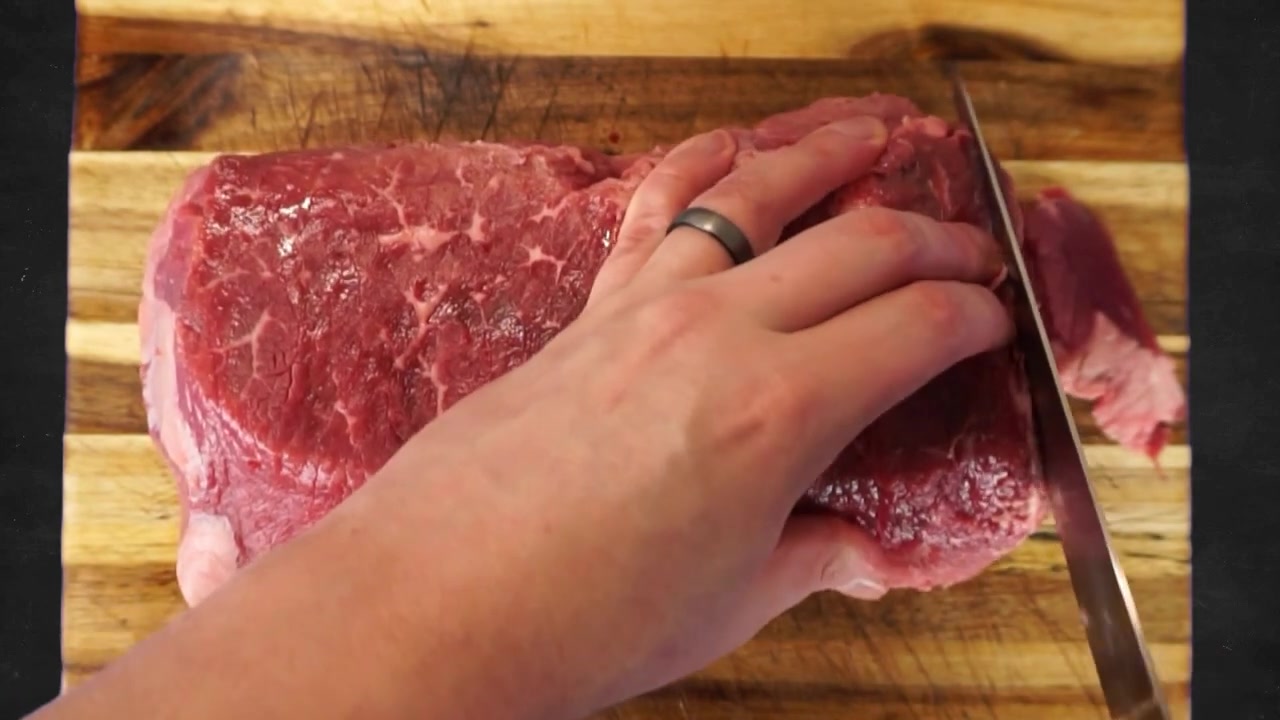
Step 1: Slice the cold top round
Trim visible fat and silver skin from cold top round. Slice across the grain into even ⅛–¼-inch pieces. The source’s slicing footage is shared by its three variants.
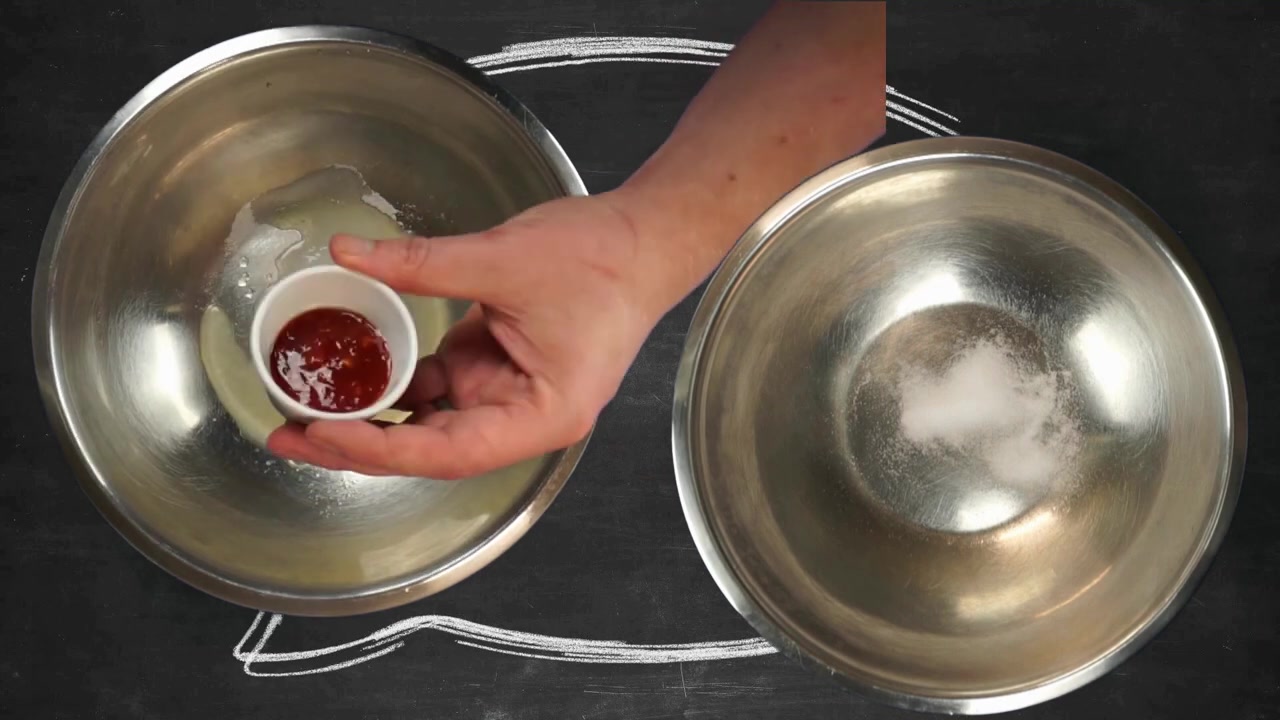
Step 2: Mix the lemon-pepper seasoning
Combine 2 tablespoons lemon juice, 1 tablespoon garlic chili sauce, 10 grams salt and 1 teaspoon black pepper. The pepper amount is BULK’s suggested addition, since the source does not provide a precise pepper measure.
Step 3: Coat and refrigerate
Coat the one-pound beef batch thoroughly, separating folded pieces. Cover and refrigerate for 4–12 hours; BULK adds this refrigerated marinating interval instead of the source’s countertop process.
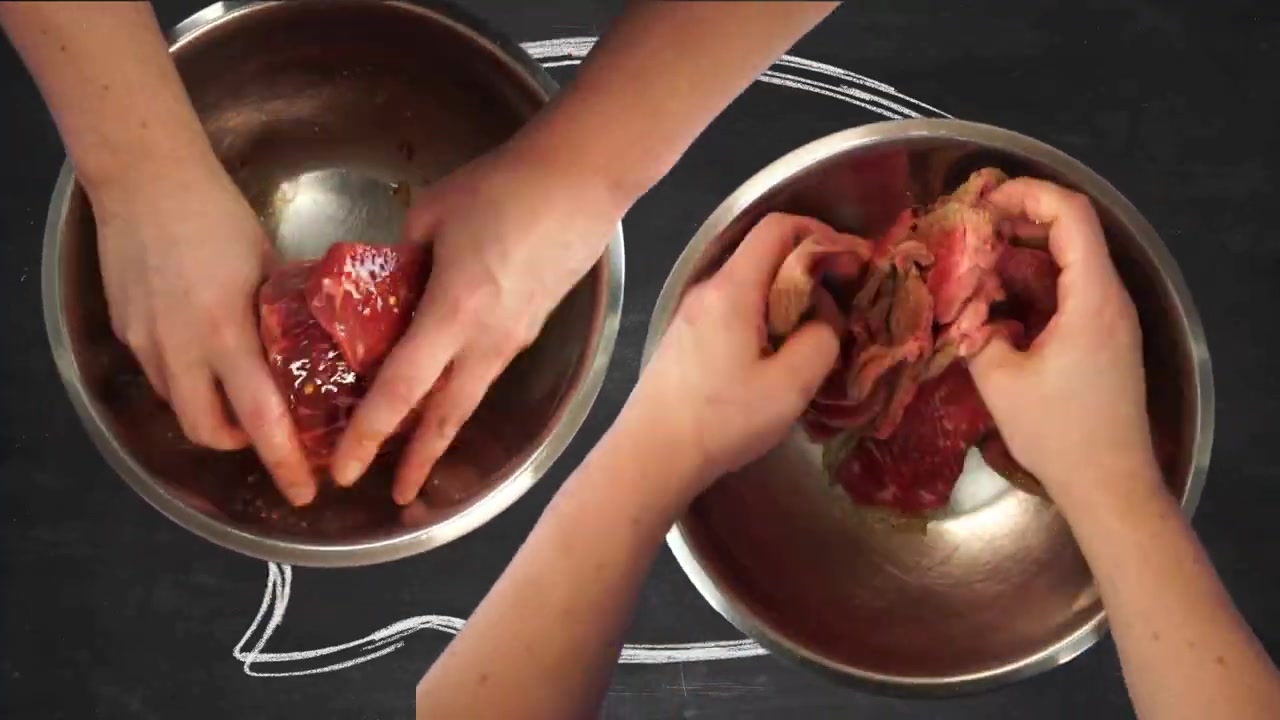
Step 4: Heat the meat before drying
Discard excess marinade. Cover the beef with fresh water in a saucepan, bring to a boil, and simmer until the thickest pieces measure at least 160°F internally. Insert a thin-tip thermometer sideways. This replaces the source’s raw countertop fan drying entirely. Discard the heating liquid and handle cooked strips with clean tongs.
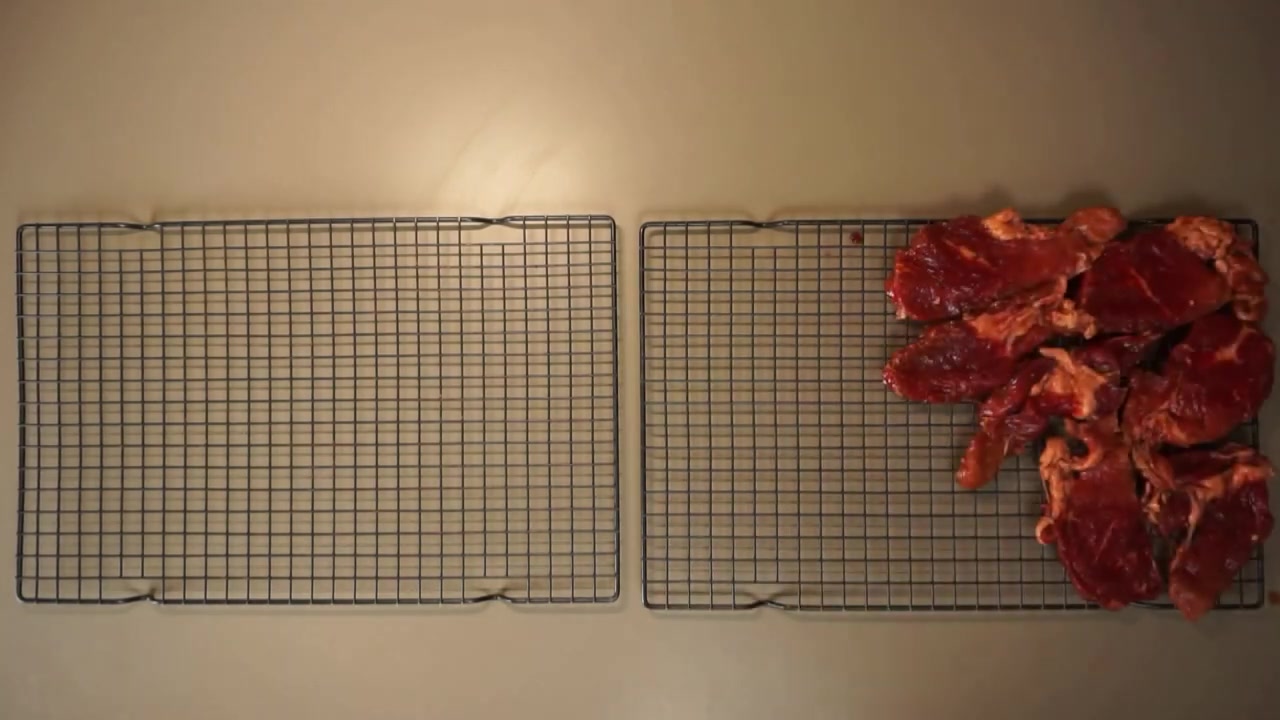
Step 5: Dry with space around each piece
Spread the heated strips on clean dehydrator trays with gaps around every piece. Dry at 145–155°F, rotating trays as needed. The source image shows the lemon-pepper batch after its original method; follow this heated method instead, without a countertop fan.
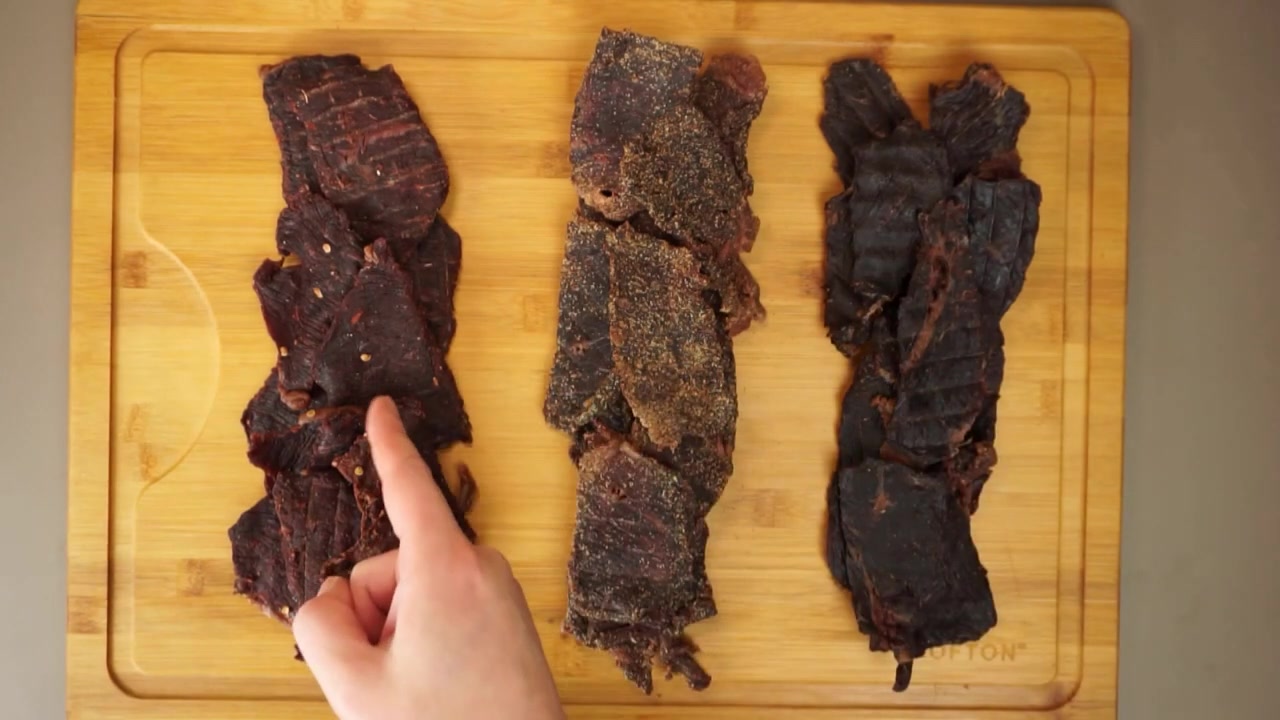
Step 6: Cool, check and refrigerate
Cool a sample and bend it: it should crack while retaining some flexibility, with no damp or soft interior. Continue drying pieces that need it. Cool the finished jerky on clean racks, then pack it in clean sealed containers and refrigerate. Freeze portions you will not eat promptly.
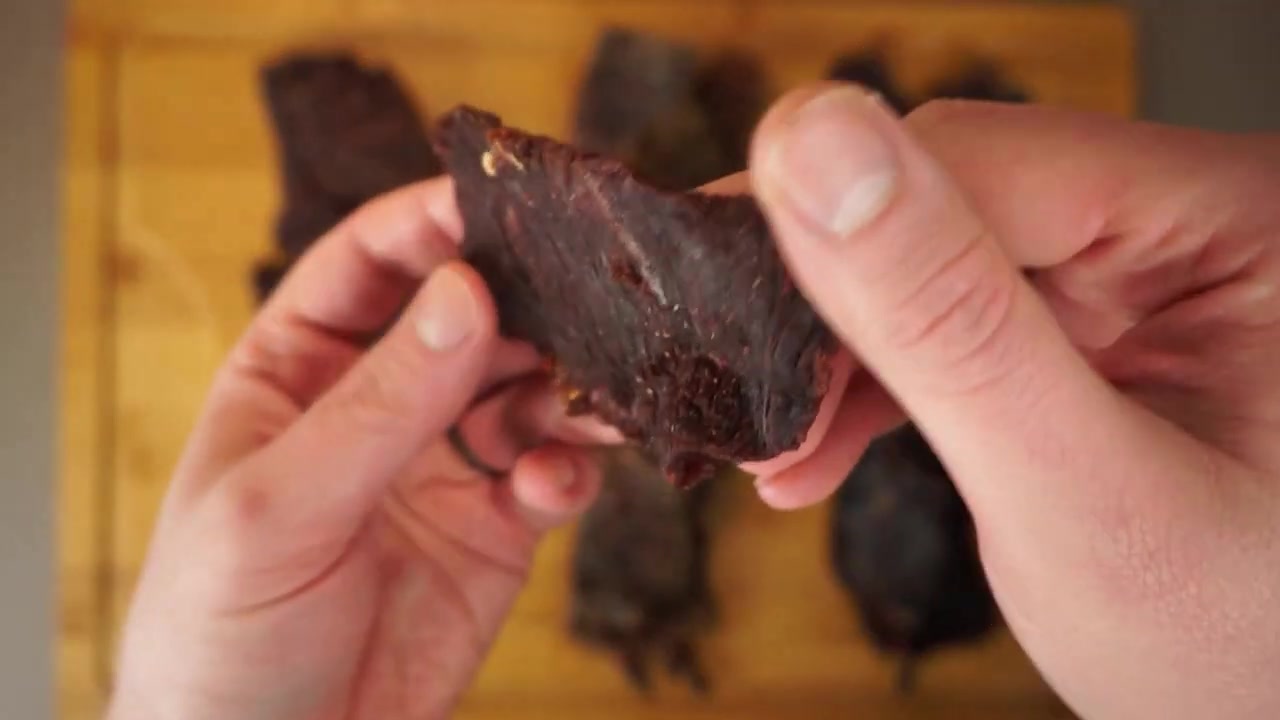
Why this flavor works
Lemon juice brings a bright acidic lift to the pepper. Garlic chili sauce adds both garlic and chili, making this a lightly spicy citrus adaptation rather than a plain pepper marinade.
Serving and storage
Serve a refrigerated portion as a snack. Keep the rest chilled and use clean utensils when portioning.
Keep the finished jerky refrigerated. Pack only fully cooled strips, keep hands and containers clean, and freeze portions you will not eat promptly. Moisture, thickness, and handling affect keeping quality; this home method does not establish commercial shelf stability.
A ready-to-eat option between batches
For a convenient jerky snack when you are not making a batch, explore BULK Texas Style Original Beef Jerky. Its seasoning and production process differ from this homemade adaptation.
Browse every published BULK jerky recipe.
Sources and further reading
- How To Make Easy Beef Jerky 3 Ways - Lemon pepper, Biltong spice and Teriyaki Recipe — Passion for Food
- USDA: how to make meat or poultry jerky at home
- National Center for Home Food Preservation: jerky
Original BULK adaptation after reviewing the source video evidence and ingredient discussion. Source footage and creator credit belong to Passion for Food. Photographs are timestamped source-video stills. Use the full written method for details.
Save the complete recipe guide
Keep the ingredient list and all six steps together. Save the image for your next batch.
Download the recipe infographic