JERKY RECIPES · FROM THE VIDEO TO YOUR KITCHEN
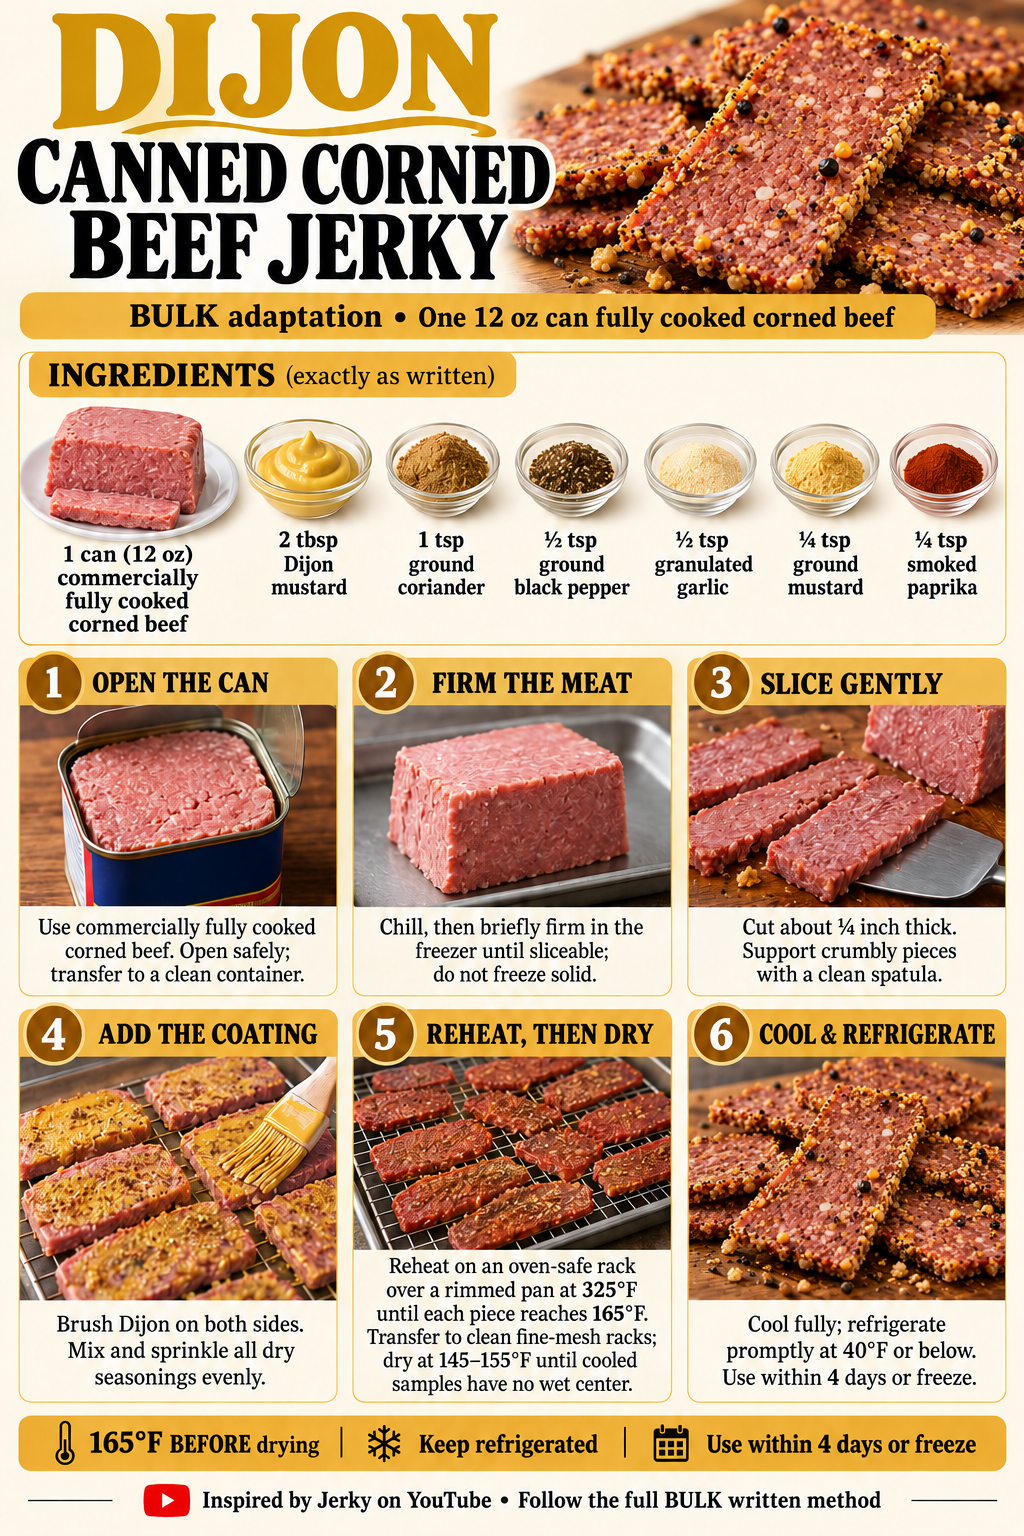
Dijon Canned Corned Beef Jerky
Six photo steps. A credited source video. A recipe guide to save.
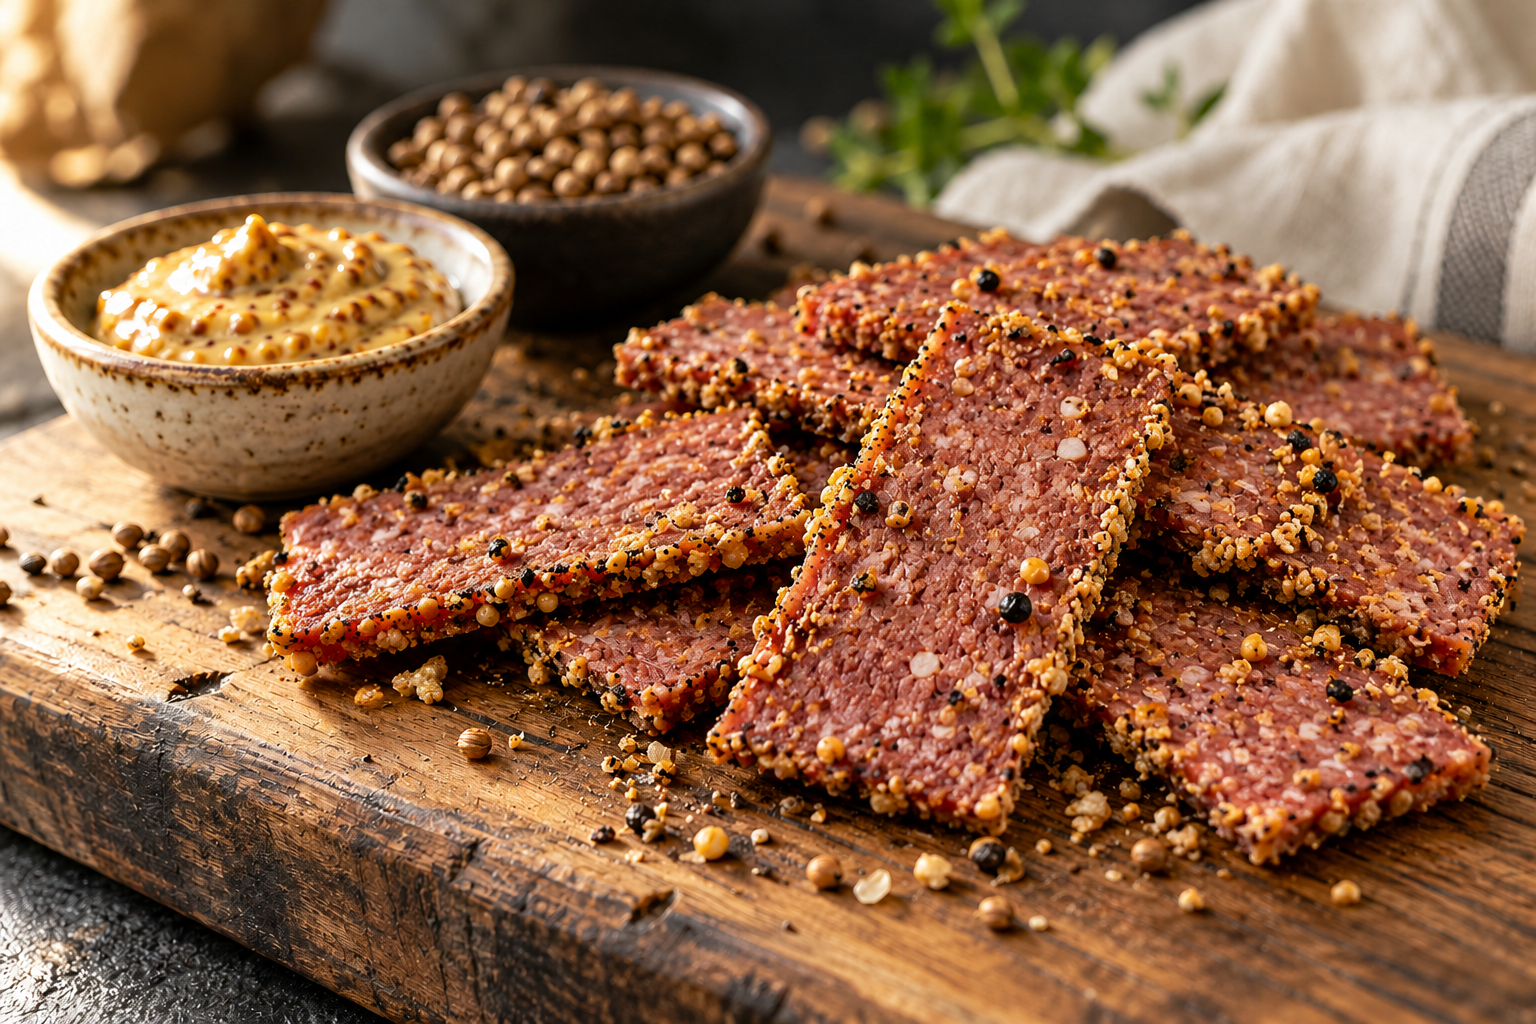
Dijon and a coriander-pepper coating improve on the source’s plain canned-meat experiment. This recipe deliberately uses its preferred mustard-coated variant, with a crumbly cracker-like result rather than the chew of whole-muscle beef jerky.
Watch the original video
Video by Jerky · Watch on YouTube
Ingredients
Starting batch: 1 can (12 oz) fully cooked corned beef; yield varies.
- 1 can (12 oz) commercially fully cooked corned beef
- 2 tbsp Dijon mustard
- 1 tsp ground coriander
- ½ tsp ground black pepper
- ½ tsp granulated garlic
- ¼ tsp ground mustard
- ¼ tsp smoked paprika
Equipment: can opener or the package opening key, clean covered container, sharp knife, pastry brush, clean spatula, oven, rimmed pan, oven-safe rack, thin-tip thermometer, and an adjustable-temperature dehydrator with fine-mesh food-safe racks.
Allergens: Check the canned meat and Dijon labels for mustard, wheat, soy or other allergens.
How to make this jerky
Step 1: Open the fully cooked corned beef
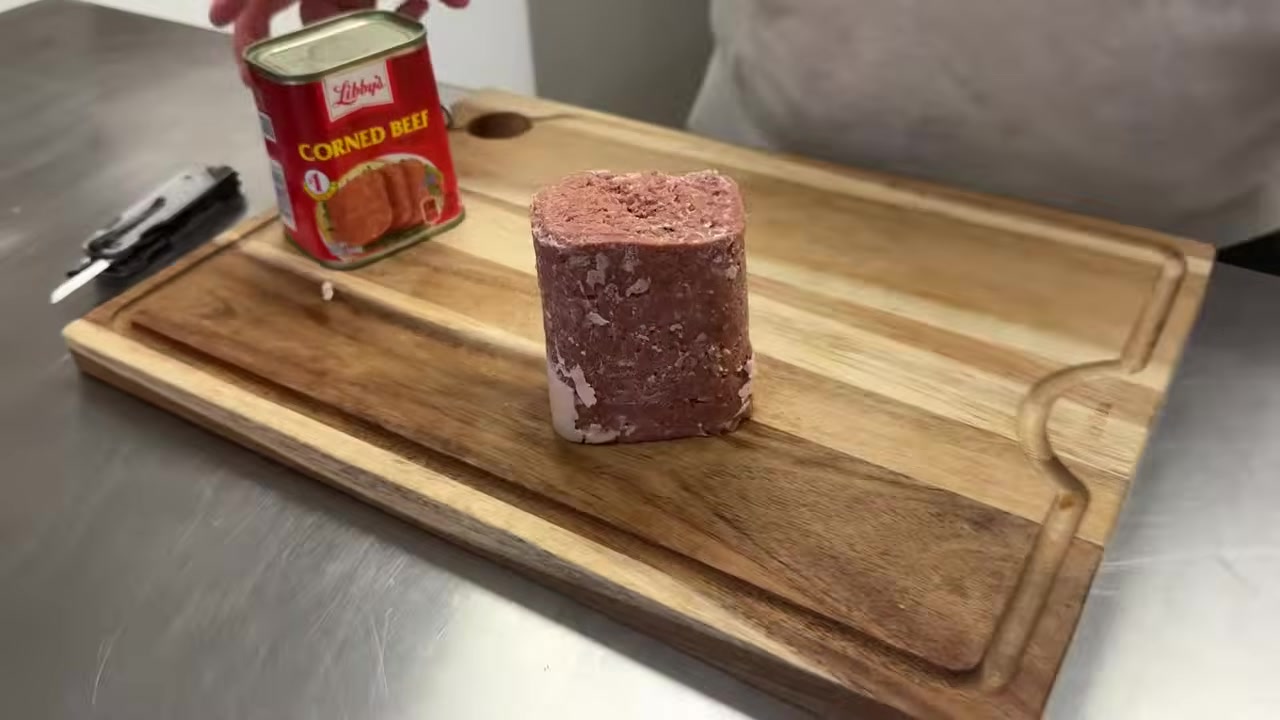
Use a sound can of commercially fully cooked corned beef. Open according to its package directions, avoiding sharp metal edges, and transfer the meat to a clean covered container. This recipe uses the canned minced product, not raw corned-beef brisket.
Step 2: Chill until firm
Refrigerate until cold, then briefly firm the covered meat in the freezer only until it holds together well enough to slice. Check frequently rather than freezing it solid. Keep it refrigerated whenever you are not working with it.
Step 3: Slice gently
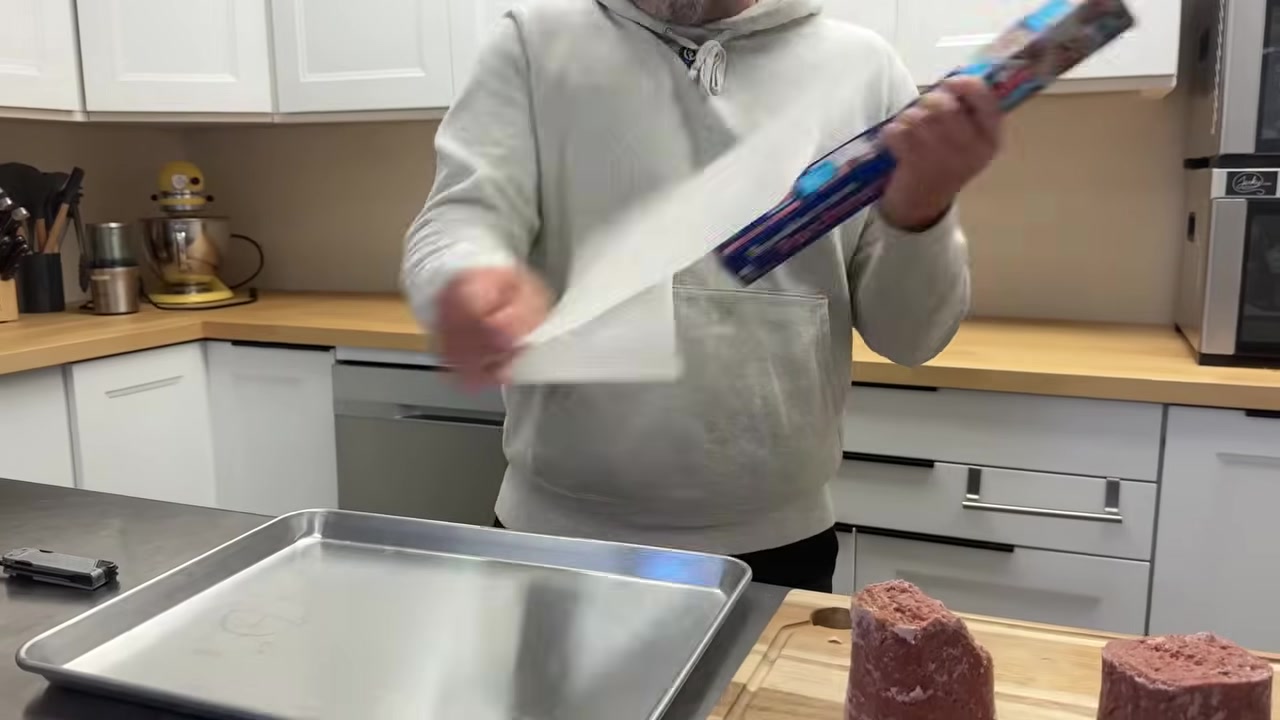
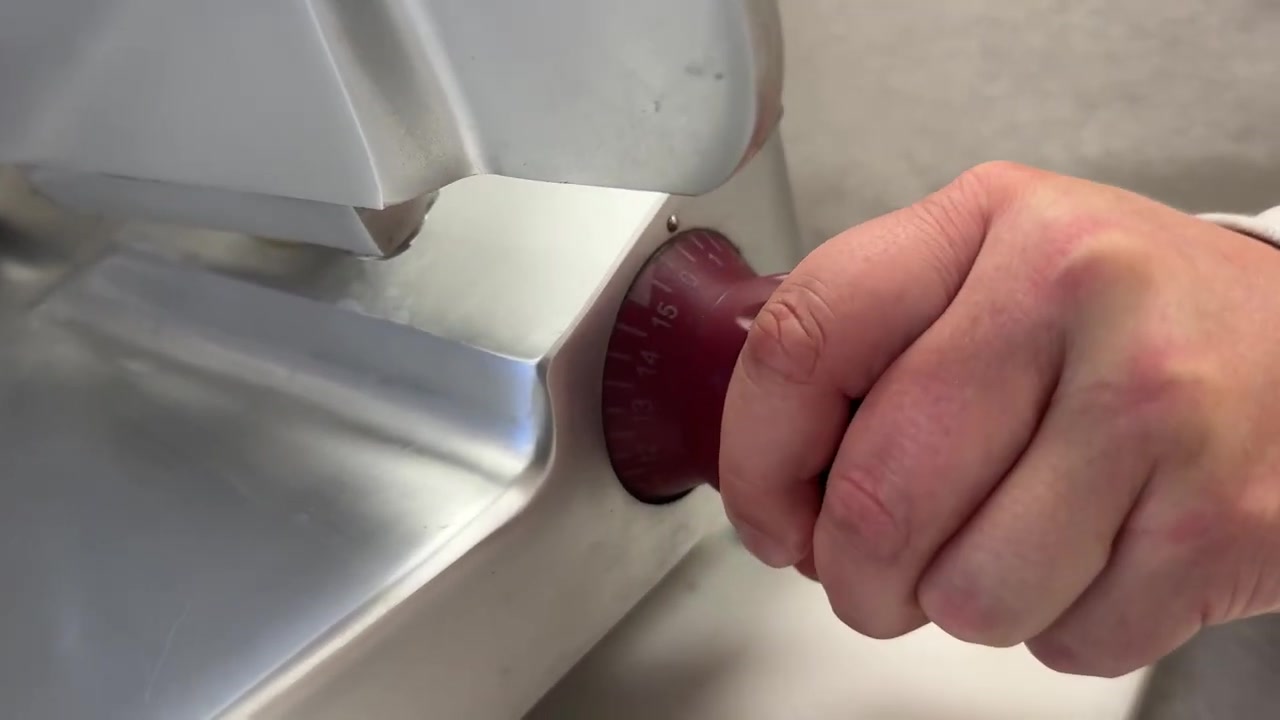
Cut gently into slices about ¼ inch thick with a sharp clean knife. Canned corned beef is a formed minced product and may crumble; keep the thicker pieces intact rather than expecting long flexible whole-muscle strips.
Step 4: Apply Dijon and the spice coating
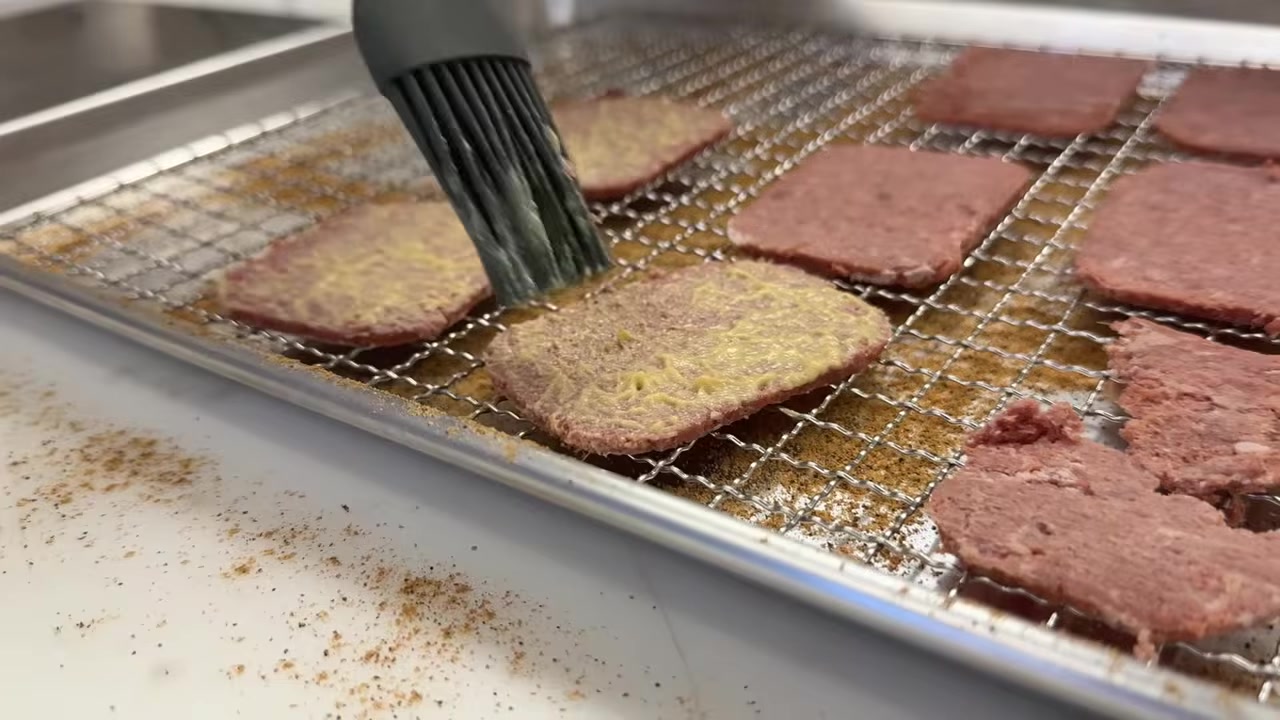
Mix coriander, black pepper, garlic, ground mustard and paprika. Brush a thin layer of Dijon over both sides of each slice and sprinkle the spice mix evenly across them. Use a clean spatula to support the pieces when turning.
Step 5: Reheat fully before drying
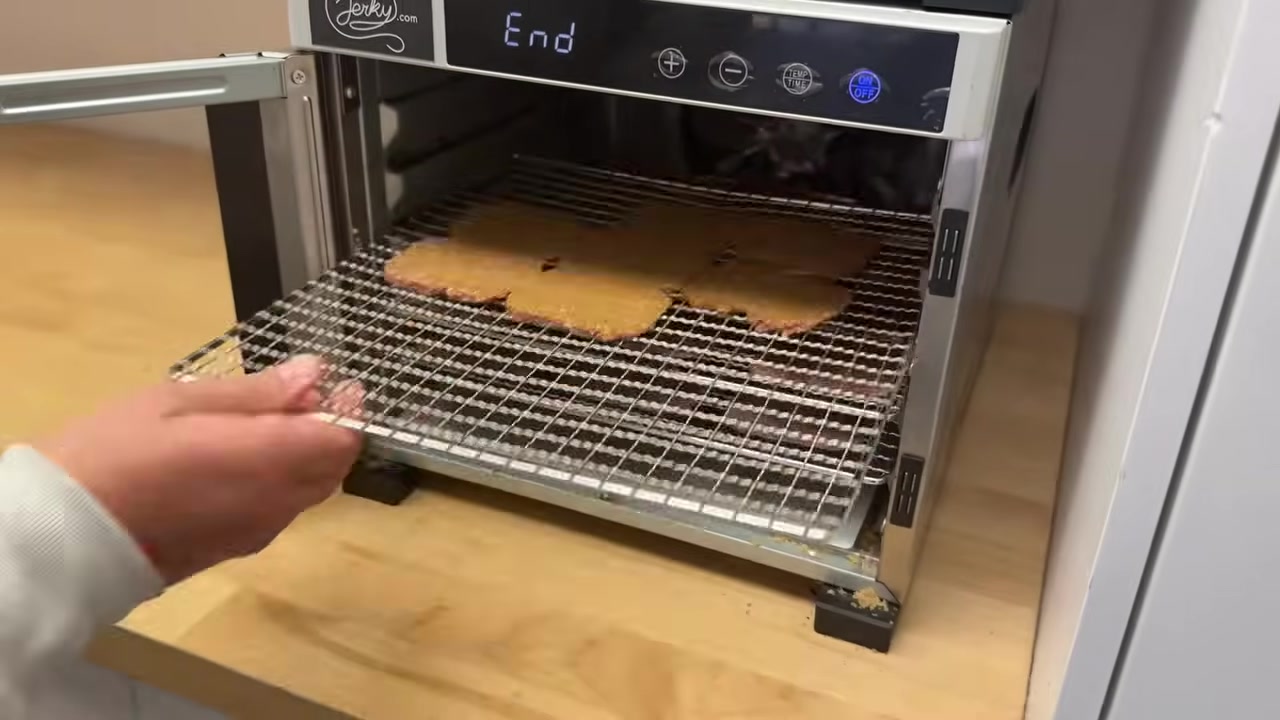
Place on an oven-safe rack over a rimmed pan and reheat in a 325°F oven until every piece reaches 165°F on a thin-tip thermometer. Transfer with clean utensils to clean fine-mesh drying racks. Dry at 145–155°F until cooled samples feel dry with no wet center; the texture is more cracker-like and crumbly than whole-muscle jerky. Source photos illustrate its original dehydrator loading, not this added reheating checkpoint.
Step 6: Cool and refrigerate
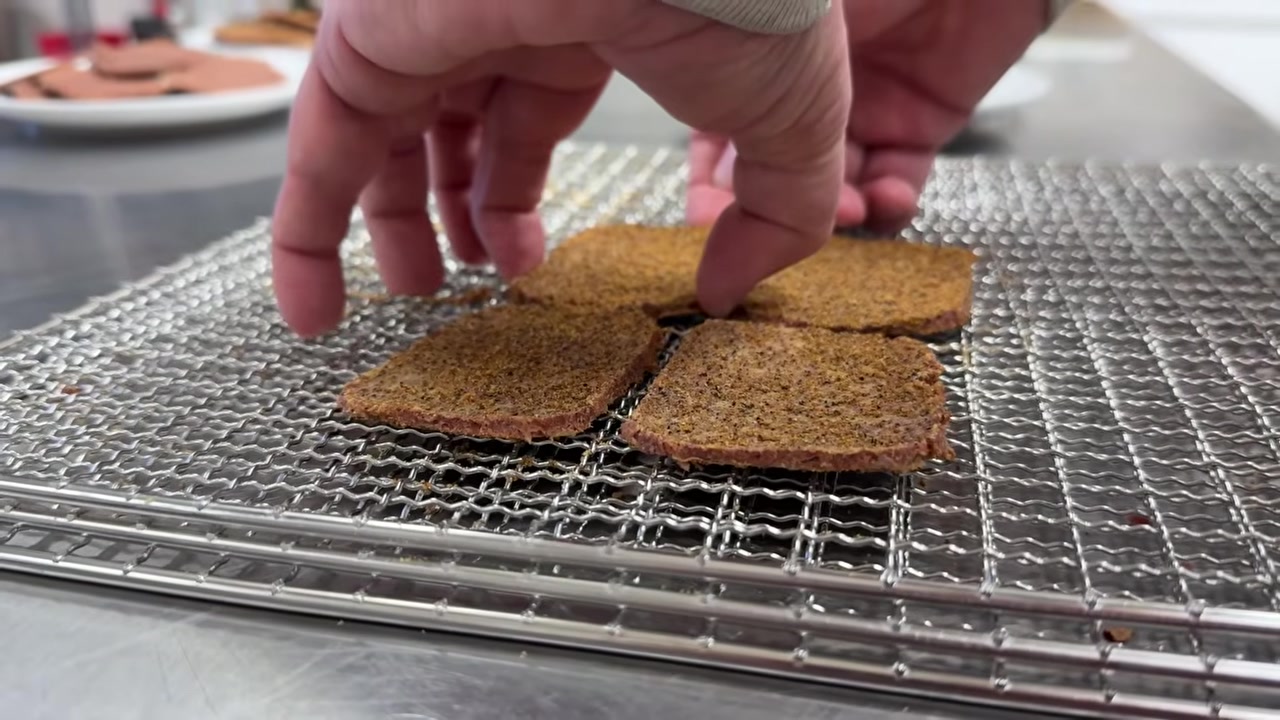
Cool fully and refrigerate promptly at 40°F or below in a clean covered container. Use within 4 days or freeze. Once opened and handled, this cooked canned-meat snack remains perishable and is not a shelf-stable preserve.
Why this flavor works
Dijon binds the coriander, garlic and pepper to the surface. Canned corned beef is already cooked and minced, so its texture and handling differ from raw whole-muscle corned brisket.
Serving and storage
Serve a small chilled portion as a savory cracker-like snack. Use within 4 days or freeze, and keep refrigerated between servings.
Keep the finished jerky refrigerated. Pack only fully cooled strips, keep hands and containers clean, and freeze portions you will not eat promptly. Moisture, thickness, and handling affect keeping quality; this home method does not establish commercial shelf stability.
A ready-to-eat option between batches
For a convenient jerky snack when you are not making a batch, explore BULK Texas Style Original Beef Jerky. Its seasoning and production process differ from this homemade adaptation.
Browse every published BULK jerky recipe.
Sources and further reading
- I Made Corned Beef Jerky — Jerky
- USDA: how to make meat or poultry jerky at home
- National Center for Home Food Preservation: jerky
Original BULK adaptation after reviewing the source video’s automatic captions and ingredient discussion. Source footage and creator credit belong to Jerky. Photographs are timestamped source-video stills. Use the full written method for details.
Save the complete recipe guide
Keep the ingredient list and all six steps together. Save the image for your next batch.
Download the recipe infographic