



JERKY RECIPES · FROM THE VIDEO TO YOUR KITCHEN
Caribbean Jerk Beef Jerky
Six photo steps. A credited source video. A recipe guide to save.

Jerk seasoning brings a warm, peppery character to this Worcestershire-forward beef jerky. Van’s World demonstrates a Caribbean-style batch with thin beef and a dark seasoned marinade. For a measured home version, BULK uses the documented ingredient proportions in Jerky.com’s Caribbean recipe and adapts the heating and storage steps below.
Watch the original video
Video by Van’s World · Watch on YouTube
Ingredients
Starting batch: 2 lb raw pre-sliced lean beef; finished yield varies.
- 2 lb pre-sliced lean beef round, trimmed, about 1/8 inch thick
- 2 tbsp dry Caribbean jerk seasoning
- 1/2 cup soy sauce
- 1½ cups Worcestershire sauce
- 1 tsp ground black pepper
- 1 tbsp crushed red pepper flakes
- 1 tsp garlic powder
Equipment: sharp knife, cutting board, kitchen scale, covered food-safe container, oven, oven-safe racks, thin-tip food thermometer, clean tongs, and an adjustable-temperature dehydrator.
Allergens: Soy sauce commonly contains soy and wheat. Worcestershire may contain fish. Jerk seasoning blends vary, so read all labels.
How to make this jerky
Step 1: Choose lean, cold strips
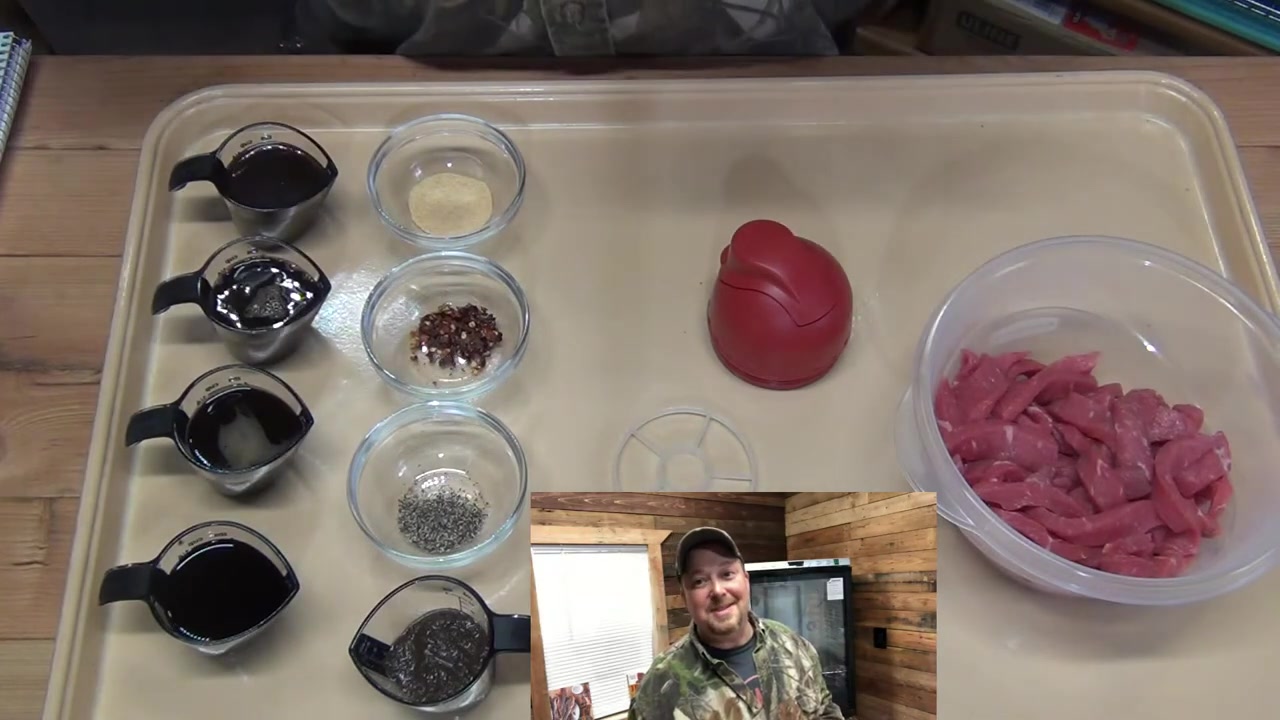
Use lean pre-sliced beef round about 1/8 inch thick. Separate the slices, trim visible fat and cut oversized pieces into manageable strips. Keep the beef refrigerated at 40°F or below until coating. The source’s pre-sliced beef illustrates this starting point.
Step 2: Mix the sauce base
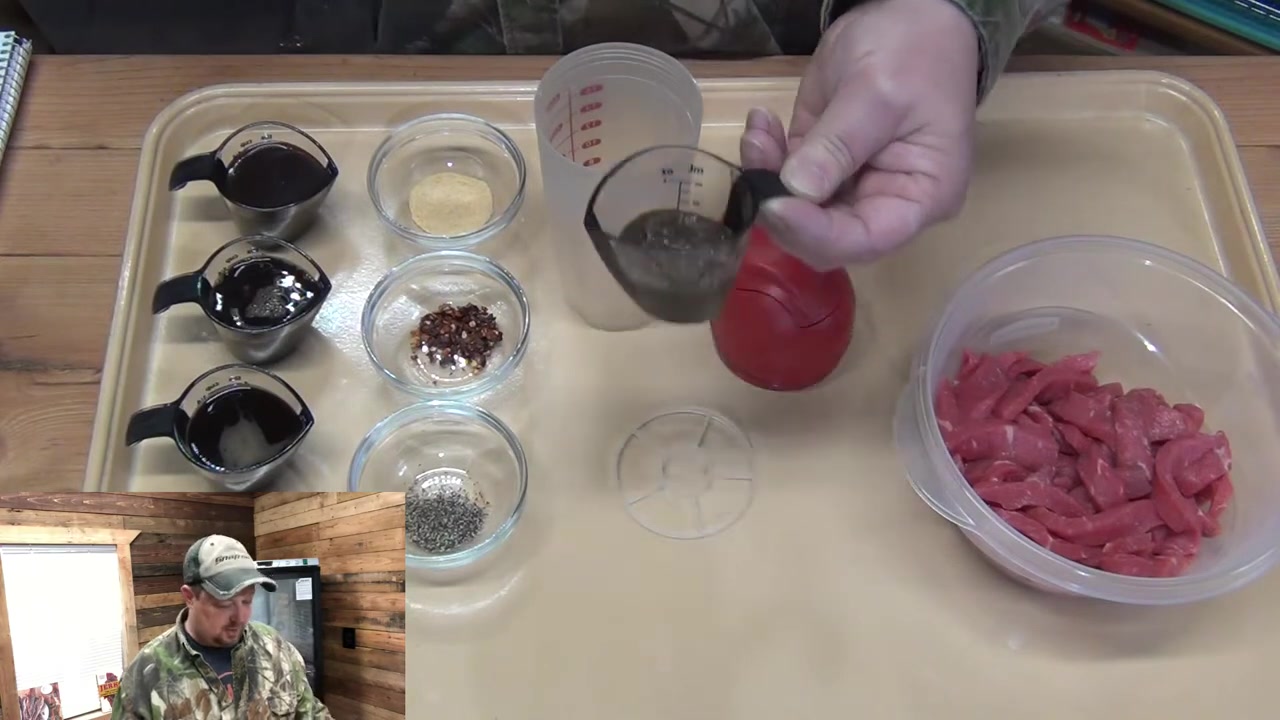
Combine the soy sauce and Worcestershire sauce in a clean nonreactive bowl. These proportions come from the separately credited written Caribbean recipe; the video’s dark-sauce lineup differs. Do not taste marinade after raw beef has touched it.
Step 3: Stir in the jerk seasonings
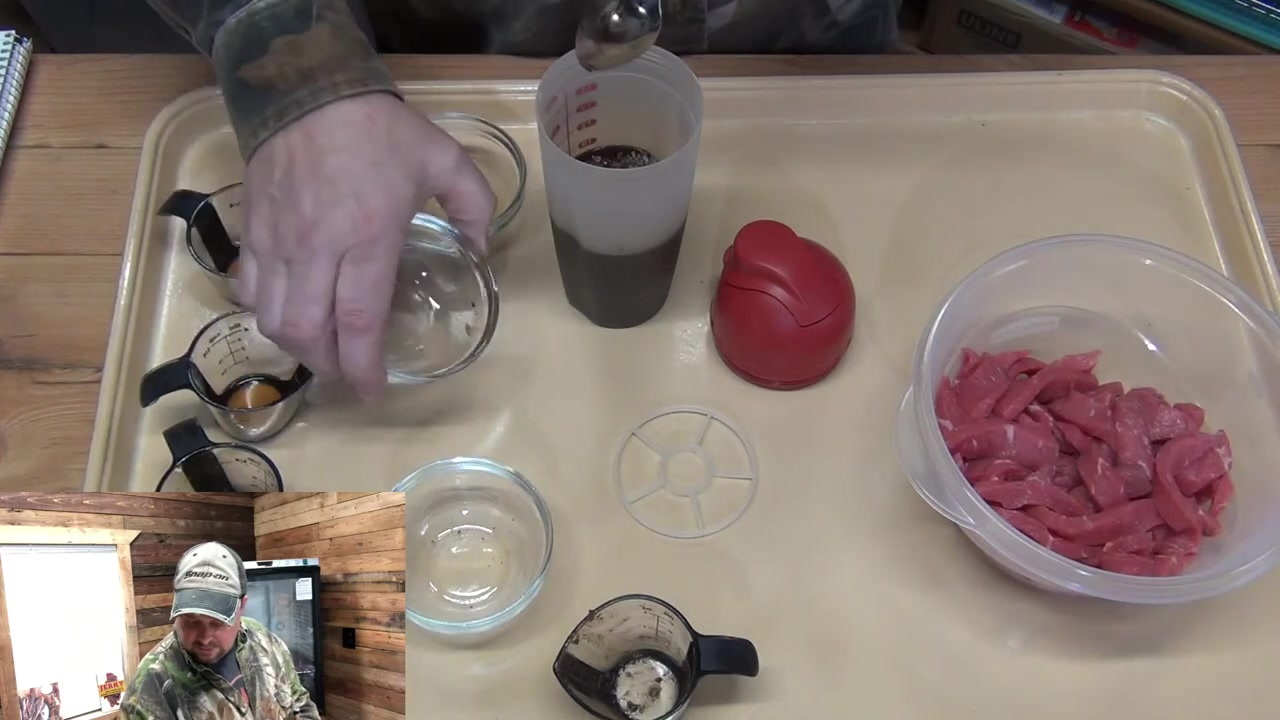
Stir in dry Caribbean jerk seasoning, black pepper, crushed red pepper and garlic powder until distributed. This measured adaptation uses a dry blend. The source video discusses a wet jerk seasoning, which is not an equal-volume substitute for the dry seasoning specified here.
Step 4: Coat and refrigerate
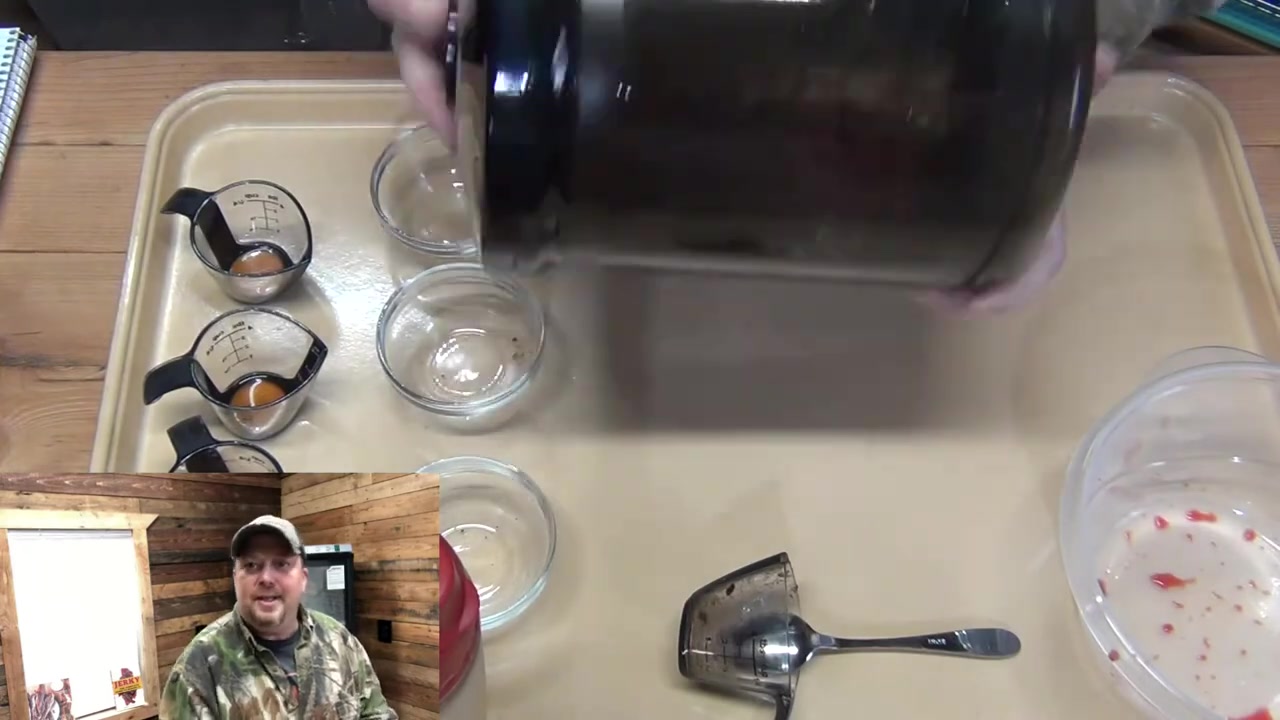
Turn the beef strips through the marinade until both sides of every piece are coated. Cover in a food-safe container and refrigerate overnight at 40°F or below, turning occasionally. Separate any slices stuck together so the coating reaches every surface.
Step 5: Heat to 160°F, then dry
Before drying, place the strips and marinade in a saucepan, adding enough water to cover. Bring to a boil and check with a thin-tip thermometer that the thickest strips reach 160°F internally. Work in batches if necessary. Drain with clean utensils and discard the used liquid. Arrange heated strips in a single layer on clean dehydrator racks, leaving air spaces between them. Dry at 145–155°F and check periodically. The dryer air temperature does not verify the temperature inside the meat.
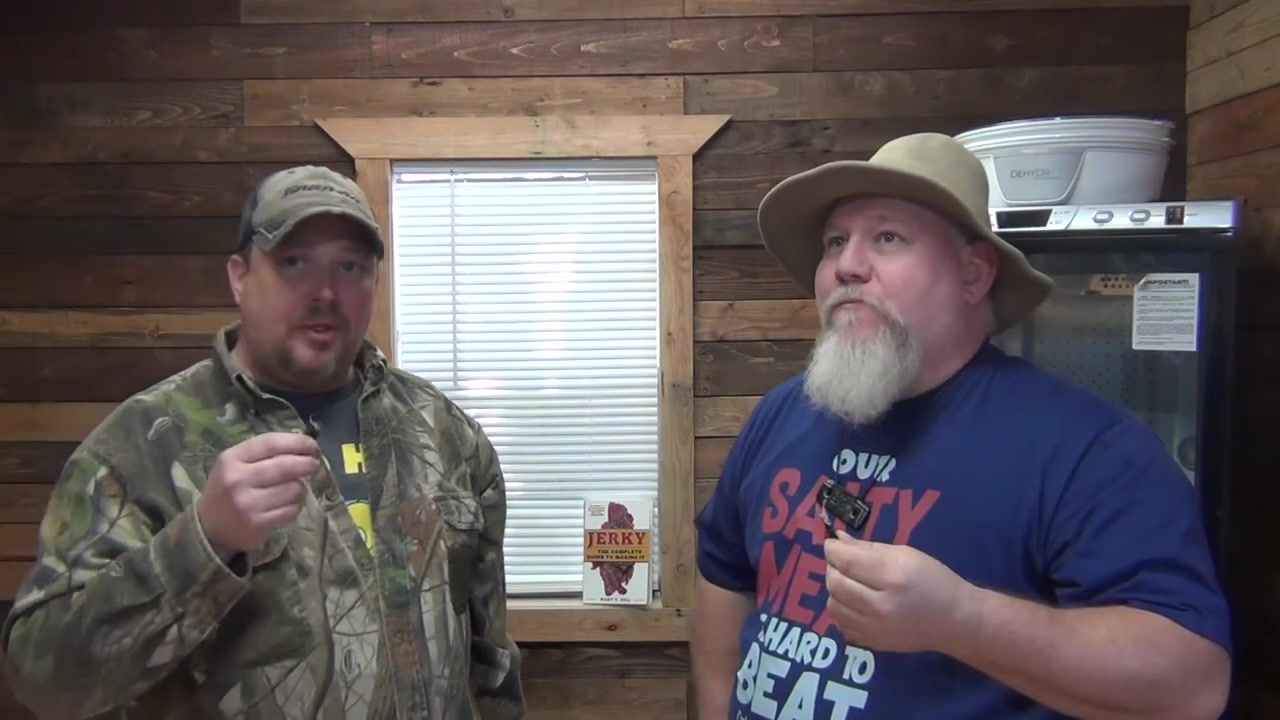
Step 6: Check, cool and refrigerate
Cool a test strip before bending it. Look for a dry center and small cracks rather than a soft, wet middle; return moist pieces to the dryer. Cool the entire batch completely on clean racks before packing. Refrigerate finished jerky and freeze extra portions. A texture test does not establish a safe room-temperature shelf life.
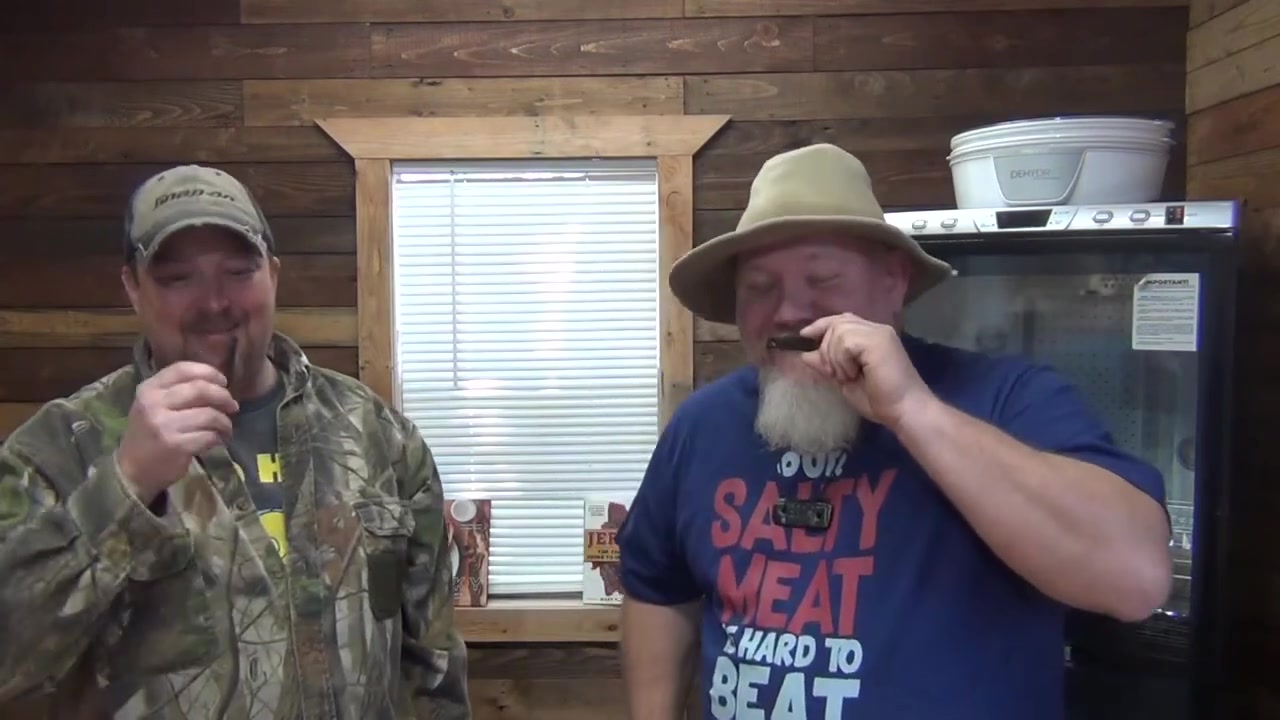
Why this flavor works
A dry jerk blend commonly brings herbs and warm spices as well as chile heat, but the exact mix depends on the brand. Worcestershire dominates the liquid base in the written recipe used here. With the blend, soy sauce and Worcestershire all contributing salt, no extra salt is added.
Serving and storage
Serve a small refrigerated portion with a simple lunch or fresh fruit, keeping the remainder chilled.
Keep the finished jerky refrigerated. Pack only fully cooled strips, keep hands and containers clean, and freeze portions you will not eat promptly. Moisture, thickness, and handling affect keeping quality; this home method does not establish commercial shelf stability.
A ready-to-eat option between batches
For a convenient jerky snack when you are not making a batch, explore BULK Texas Style Original Beef Jerky. Its seasoning and production process differ from this homemade adaptation.
Browse every published BULK jerky recipe.
Sources and further reading
- Jerky.com: Caribbean Beef Jerky Recipe — measured ingredient base
- Caribbean Jerk Beef Jerky Recipe - Homemade Jerky Made in a Dehydrator Oven — Van’s World
- USDA: how to make meat or poultry jerky at home
- National Center for Home Food Preservation: jerky
Original BULK adaptation based on the credited source recipe and video. Source footage and creator credit belong to Van’s World. Photographs are timestamped source-video stills. Use the full written method for details.
Save the complete recipe guide
Keep the ingredient list and all six steps together. Save the image for your next batch.
Download the recipe infographic