



JERKY RECIPES · FROM THE VIDEO TO YOUR KITCHEN
Baja Blast Citrus Beef Jerky
Six photo steps. A credited source video. A recipe guide to save.
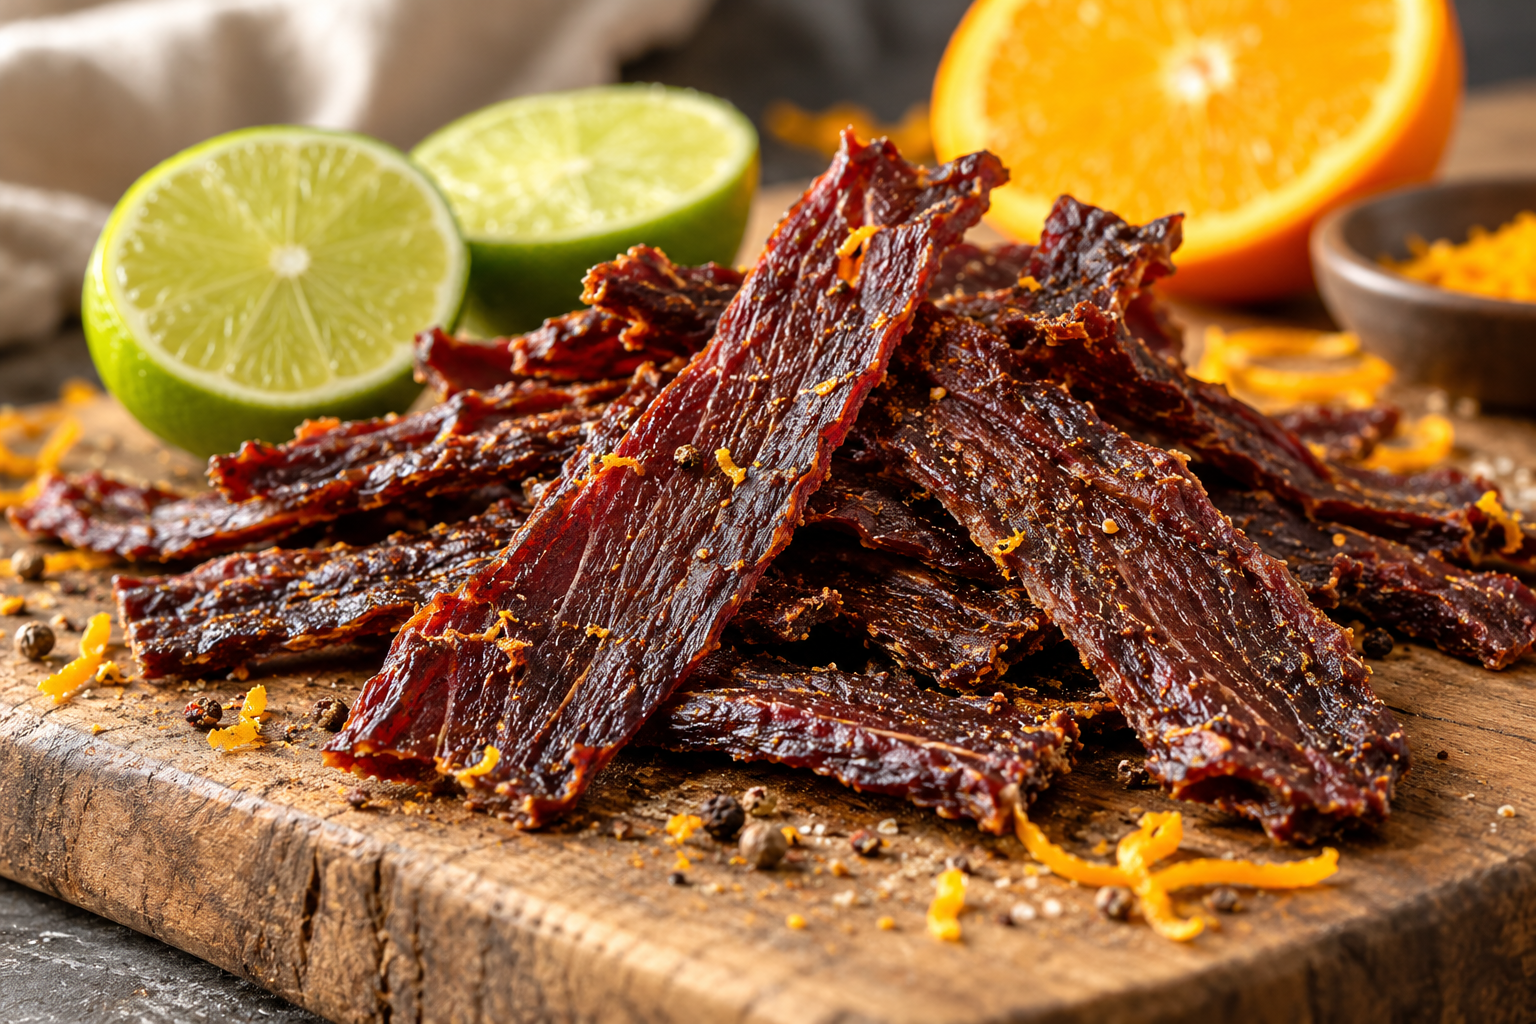
A reduced citrus soda base and fresh lime-orange aroma give this lean beef jerky a playful flavor direction. The source notes that the citrus is more obvious than the soda; this is a measured home adaptation with heating before drying.
Watch the original video
Video by Jerky · Watch on YouTube
Ingredients
Starting batch: 2 lb raw lean beef; finished yield varies.
- 2 lb lean eye of round, trimmed and sliced ⅛ inch thick
- 2 cups Baja Blast soda
- Juice of 2 limes (about ¼ cup)
- Finely grated zest of 1 orange
- 2 tsp sea salt
- 2 tsp ground black pepper
- 1 tsp granulated garlic
- 1 tsp onion powder
Equipment: sharp knife, cutting board, kitchen scale, covered nonreactive container, saucepan, thin-tip food thermometer, clean tongs, wire racks, and an adjustable-temperature dehydrator.
Allergens: Check soda and any substituted seasonings for your allergens.
How to make this jerky
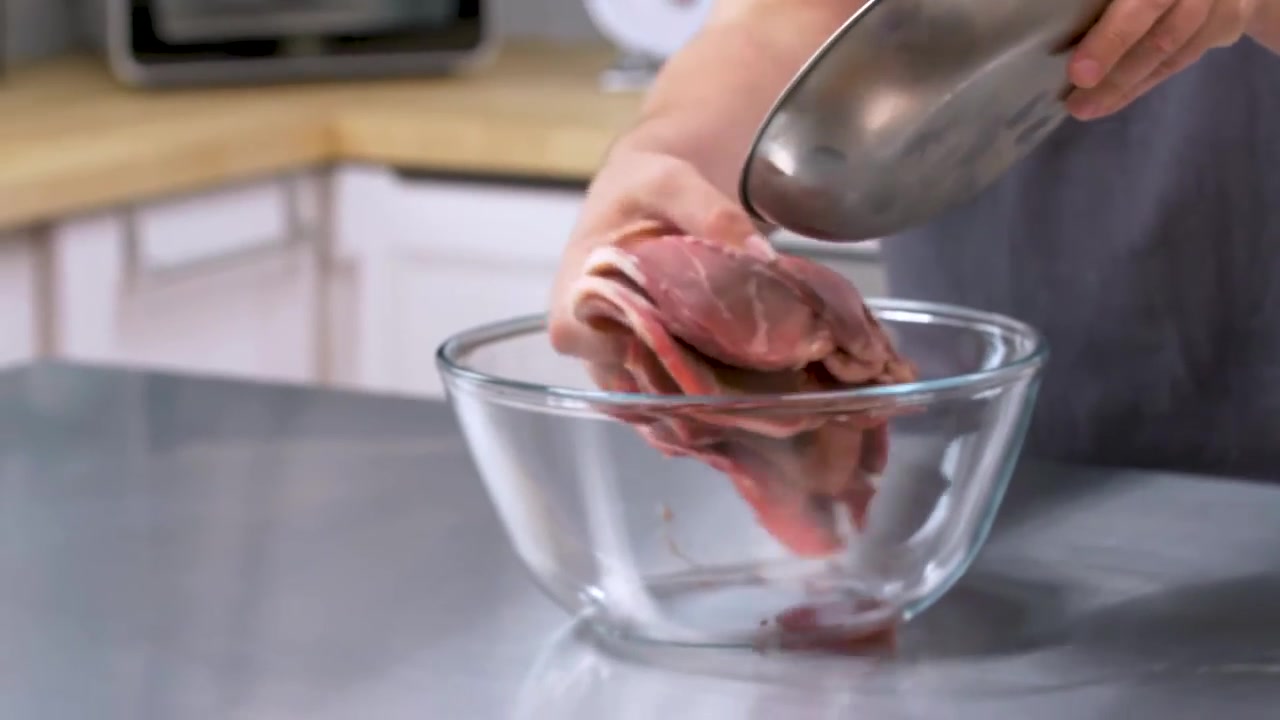
Step 1: Separate the lean beef slices
Trim the lean beef and separate even ⅛-inch slices. The source starts with just under two pounds of pre-sliced eye of round. Keep raw beef refrigerated while reducing the soda.
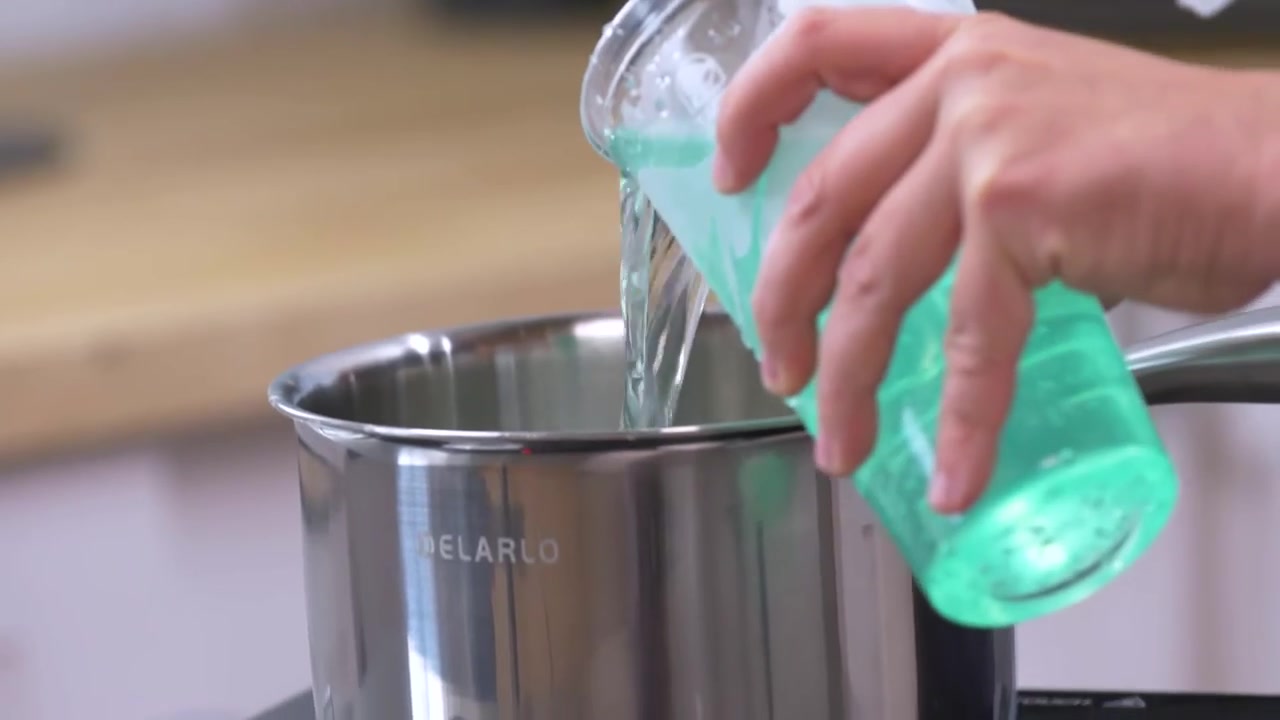
Step 2: Reduce and chill the soda
Pour 2 cups soda into a saucepan and simmer until reduced to about ½ cup. Cool promptly in a shallow container and refrigerate until cold. The source specifies reducing soda to one-quarter volume without stating a starting amount; BULK fixes it at 2 cups.
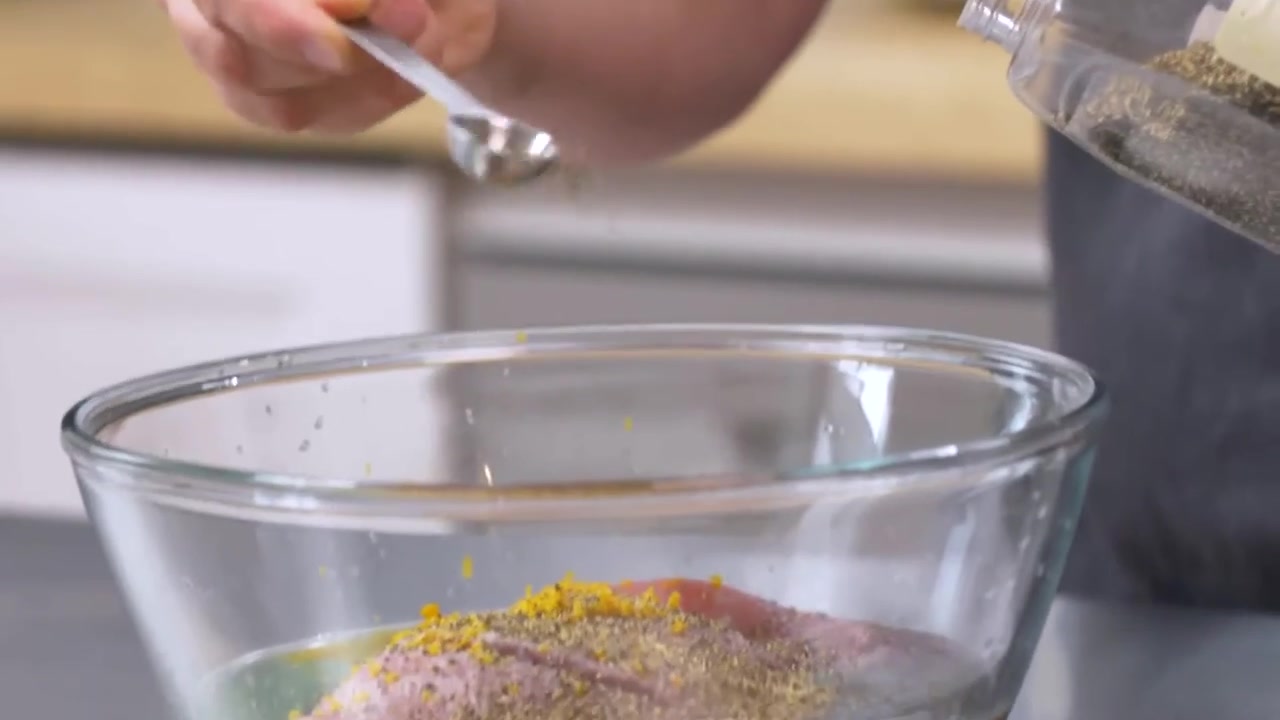
Step 3: Mix in citrus and savory seasonings
Stir lime juice, orange zest, sea salt, black pepper, granulated garlic and onion powder into the cold soda reduction. Mix until the salt disperses, avoiding thick white pith when zesting the orange.
Step 4: Coat and refrigerate
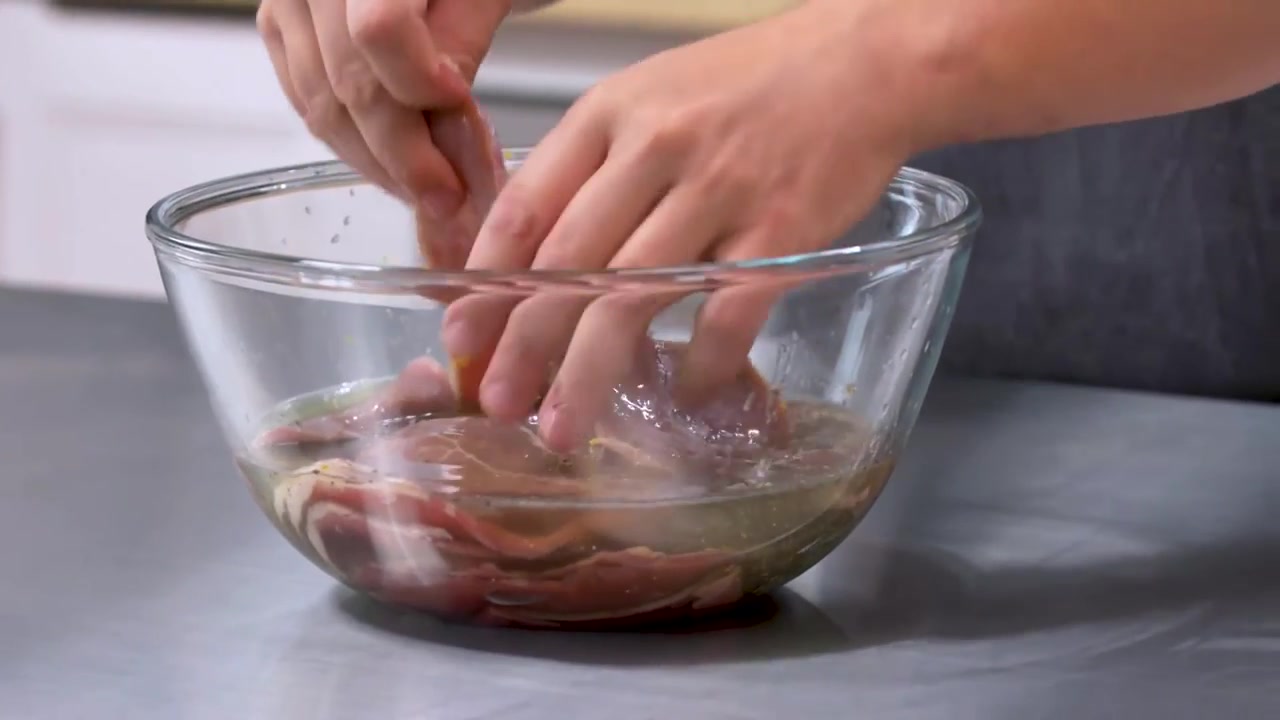
Turn the beef through the citrus coating, separating every strip. Cover and refrigerate at 40°F or below for 12 hours. Keep the raw meat cold throughout marinating.
Step 5: Heat before drying and leave air gaps
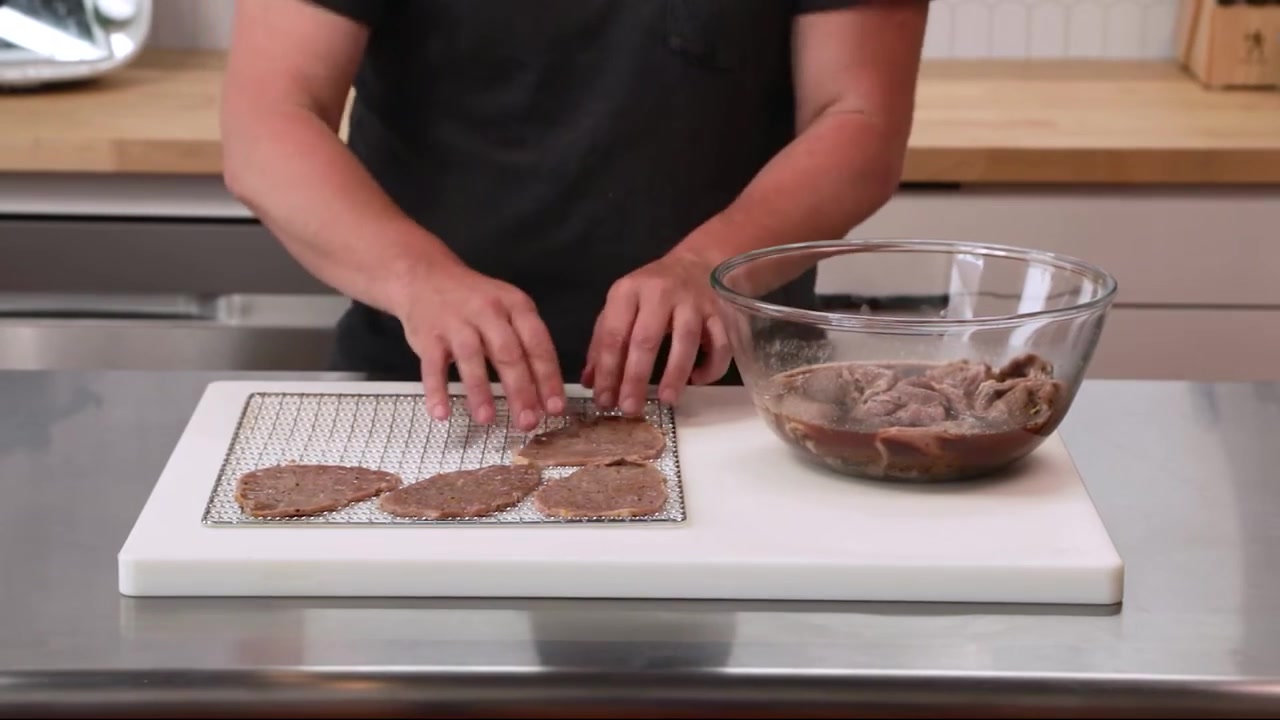
Transfer the meat and marinade to a saucepan, adding enough water for the strips to move freely. Bring to a boil, reduce to a simmer, and check several strips with a thin-tip thermometer until each reaches 160°F. Discard used marinade after heating. Drain with clean tongs and place on clean racks without touching. Dry at 145–155°F, checking periodically rather than relying on a fixed clock. The source photo shows spacing, not the added heating step.
Step 6: Check texture, cool and refrigerate
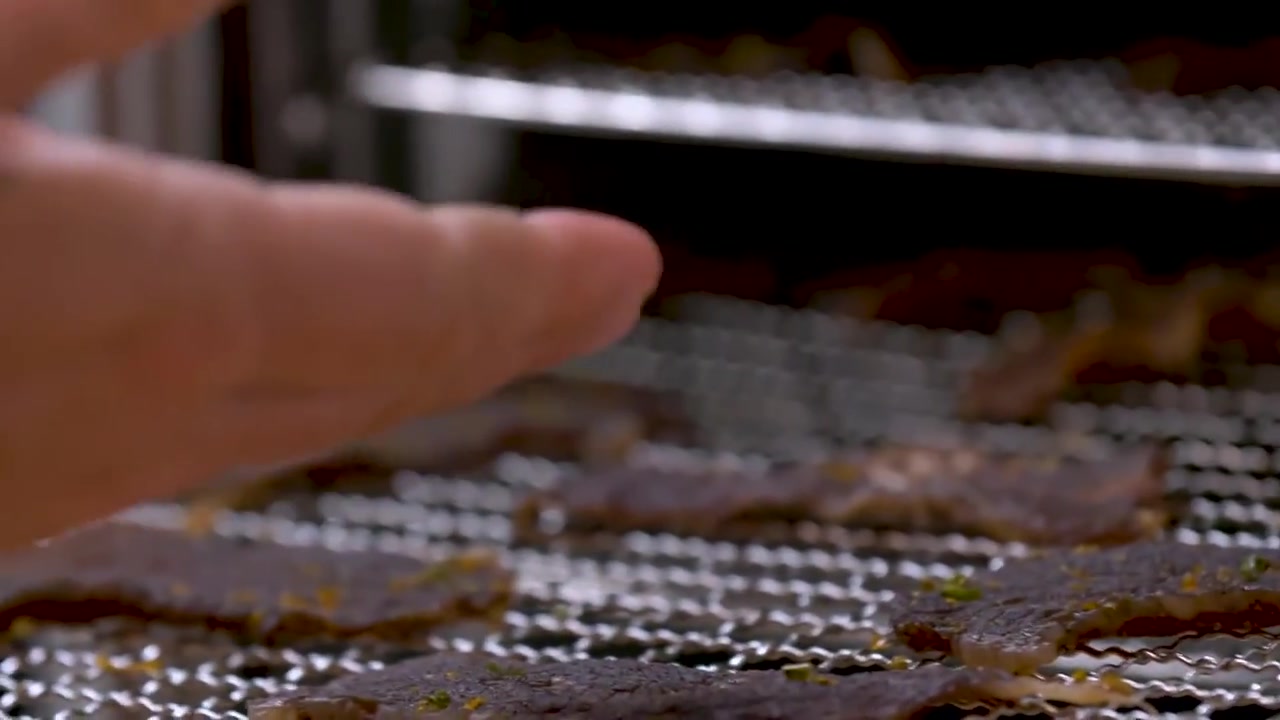
Cool a sample strip before checking it. It should be leathery and bend without a wet center; continue drying any moist pieces. Cool the entire batch fully before packaging. Refrigerate promptly in a clean covered container and freeze portions you will not eat promptly. This home process does not establish shelf stability.
Why this flavor works
Reduced citrus soda gives a sweet background note. Fresh lime juice and orange zest supply the clearer citrus flavor. Similar slice thickness helps the coating and drying remain consistent.
Serving and storage
Enjoy chilled portions as a snack or cut the jerky into small pieces for a savory trail mix. Keep the batch refrigerated between servings.
Keep the finished jerky refrigerated. Pack only fully cooled strips, keep hands and containers clean, and freeze portions you will not eat promptly. Moisture, thickness, and handling affect keeping quality; this home method does not establish commercial shelf stability.
A ready-to-eat option between batches
For a convenient jerky snack when you are not making a batch, explore BULK Texas Style Original Beef Jerky. Its seasoning and production process differ from this homemade adaptation.
Browse every published BULK jerky recipe.
Sources and further reading
- Baja Blast Beef Jerky Recipe (For Beginners) — Jerky
- USDA: how to make meat or poultry jerky at home
- National Center for Home Food Preservation: jerky
Original BULK adaptation after reviewing the source video’s automatic captions and ingredient discussion. Source footage and creator credit belong to Jerky. Photographs are timestamped source-video stills. Use the full written method for details.
Save the complete recipe guide
Keep the ingredient list and all six steps together. Save the image for your next batch.
Download the recipe infographic